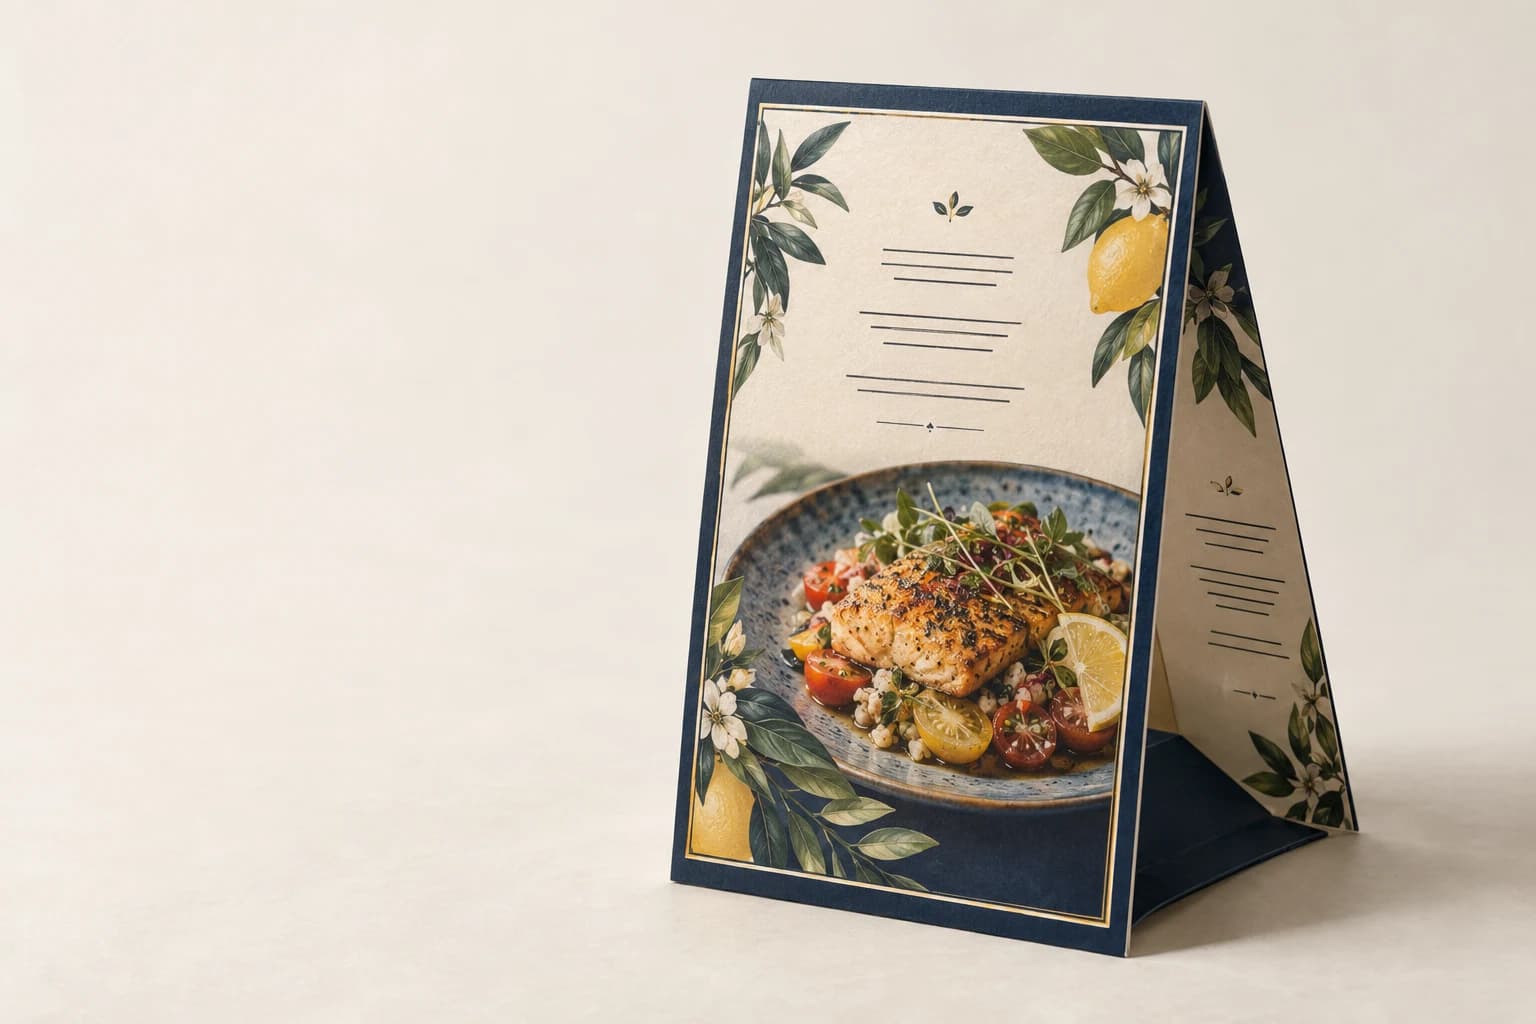
Brochure Printing · Formats & construction
Table Tent Printing
Table tents create a free-standing display from folded printed board.
- Tent fold or locking base; visible panel and footprint
- White folding paperboard
- Counter display
Start with the intended use, finished size and quantity. The material and construction can follow.
The product in use
Printed message panels with a stable standing base
A table tent turns printed panels into a self-standing display with a folded or locking base. Visible panel dimensions describe the message area; the footprint describes the support on the table. Stiffness, orientation and base geometry determine how the display stands and faces the viewer.
What makes up the finished product?
- Visible panels
- The message is positioned on the faces visible after the display is erected.
- Creases and joining features
- Folds or a locking feature turn the flat sheet into a standing assembly.
- Base footprint
- The base and panel stiffness determine how the display stands on the intended surface.
Specifications and materials
Table Tent Printing specifications
Use these reference options to build the project brief. Dimensions are design examples; material availability, tooling and production timing depend on the confirmed specification.
| Parameter | Reference or option | Why it matters |
|---|---|---|
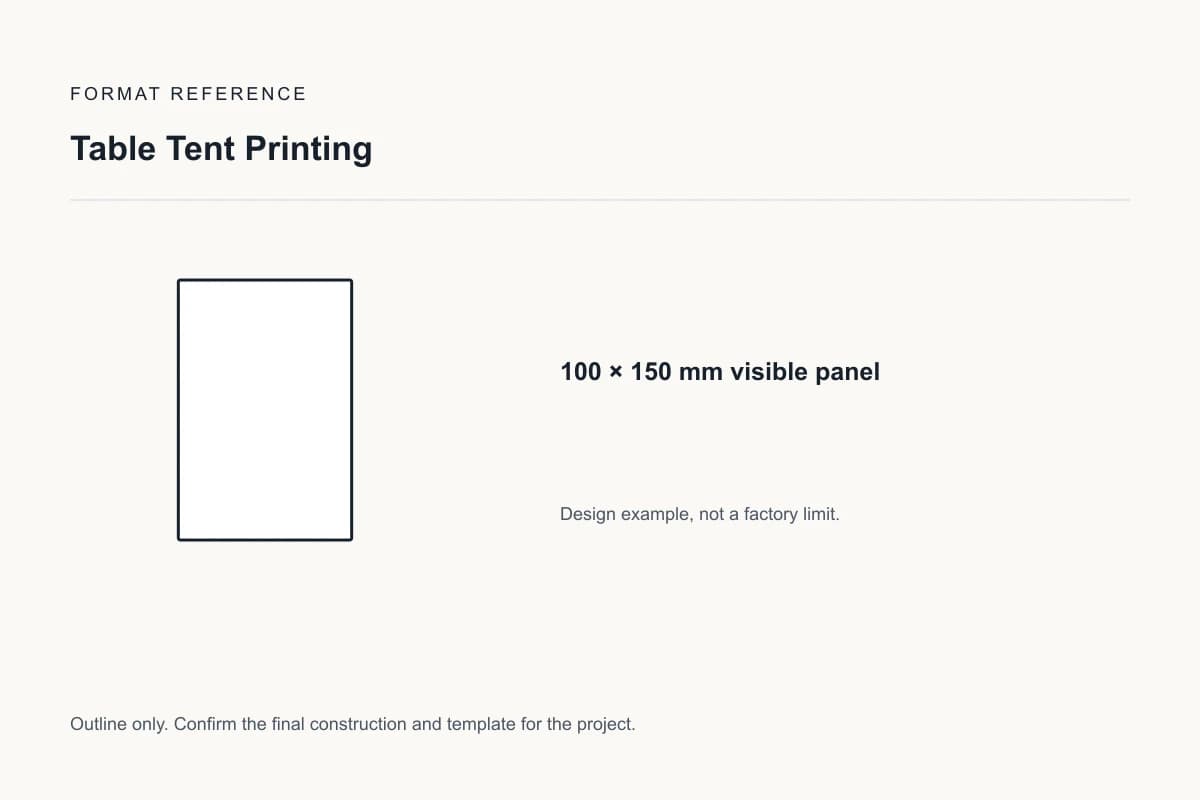
| Finished dimensions | 100 × 150 mm visible panel | This panel-size example does not define the flat dieline or base footprint. Design reference, not a factory limit. |
| Display structure | Tent fold or locking base; visible panel and footprint | Visible panel size does not define the flat cutting layout or the erected base. |
| Print and functional layout | Print sides, writing areas, code areas and any numbered versions | Check the design at final size using the pen, printer, handle or display position it is intended for. |
| Converted dimensions | Finished size, flat layout and separate cut, fold, glue or perforation positions | A visible panel or finished rectangle does not determine the whole production template. |
| Material construction | White folding paperboard or Kraft paperboard | Compare the actual grade and construction. Inspect the fold on a printed, creased and erected sample. |
| Format and order unit | complete finished pieces or assembled sets per artwork version | List components and versions separately so quantities refer to the same finished unit. |
| Finishing choice | Scoring helps control folds; a film or raised finish across the crease needs a fold test. | Approve the proposed material and process combination on an appropriate sample. |
Compare the material and its effect.
Choose the surface and construction for the way the finished product will be used. The options below are selection references, not a guaranteed inventory list.
White folding paperboard
Coated folding boxboard, selected by caliper and stiffness
A white coated face supports printed color; crease geometry and fiber direction influence how the carton erects.
Sample check: Inspect the fold on a printed, creased and erected sample.
Kraft paperboard
Natural brown or specified white-faced kraft construction
Brown material contributes its own color to the artwork. The structure still needs the stiffness required by the filled pack.
Sample check: Compare color on the selected surface and test the filled bottom and closure.
Selected sample focus — White folding paperboard: Inspect the fold on a printed, creased and erected sample.
Format & usable space
Visible Panel Size, Flat Layout & Base Footprint
100 × 150 mm visible panel
This panel-size example does not define the flat dieline or base footprint.
This is a design reference, not a required size or a manufacturing limit.
Display structure
Tent fold or locking base; visible panel and footprint
Visible panel size does not define the flat cutting layout or the erected base.
View the original format reference
Surface finish options
Display panels and printed faces
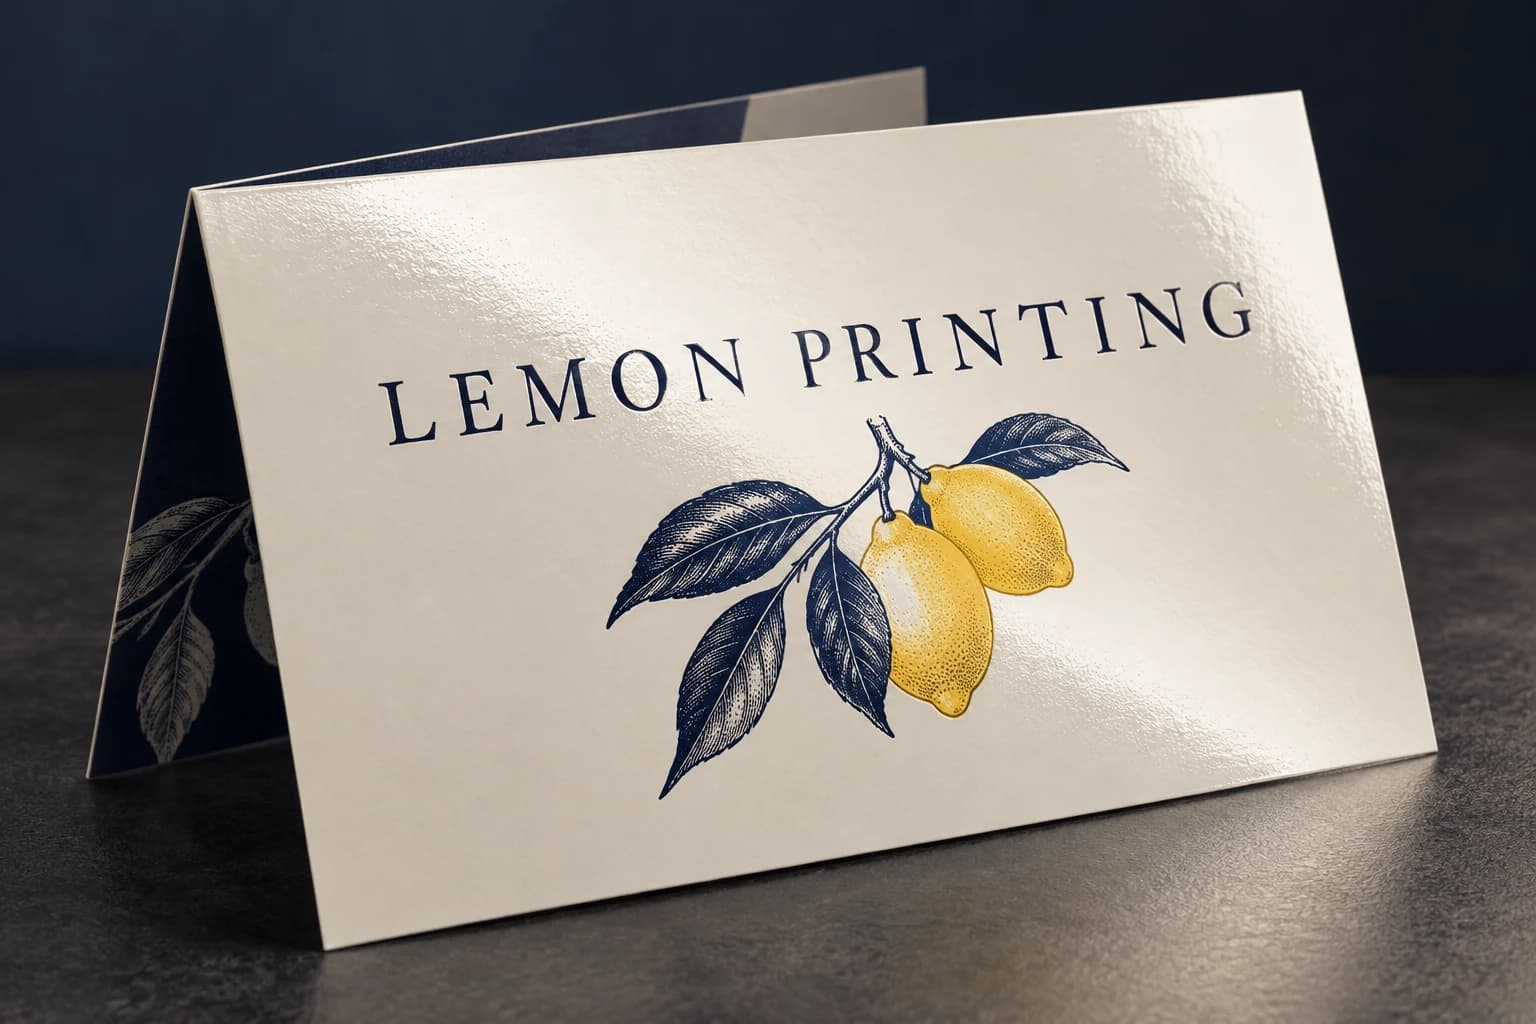
Compare low-glare film and a brighter gloss alternative under the intended lighting. Check creases, trimming and surface cleaning needs. These options do not establish outdoor durability or waterproof performance.
 Matte lamination View effect & artwork guidance
 Gloss lamination View effect & artwork guidance
 Varnish & coating View effect & artwork guidance
Illustrative finish samples, not photographs of this product. Final suitability follows the confirmed stock, construction and approved sample.
Compare all surface finishes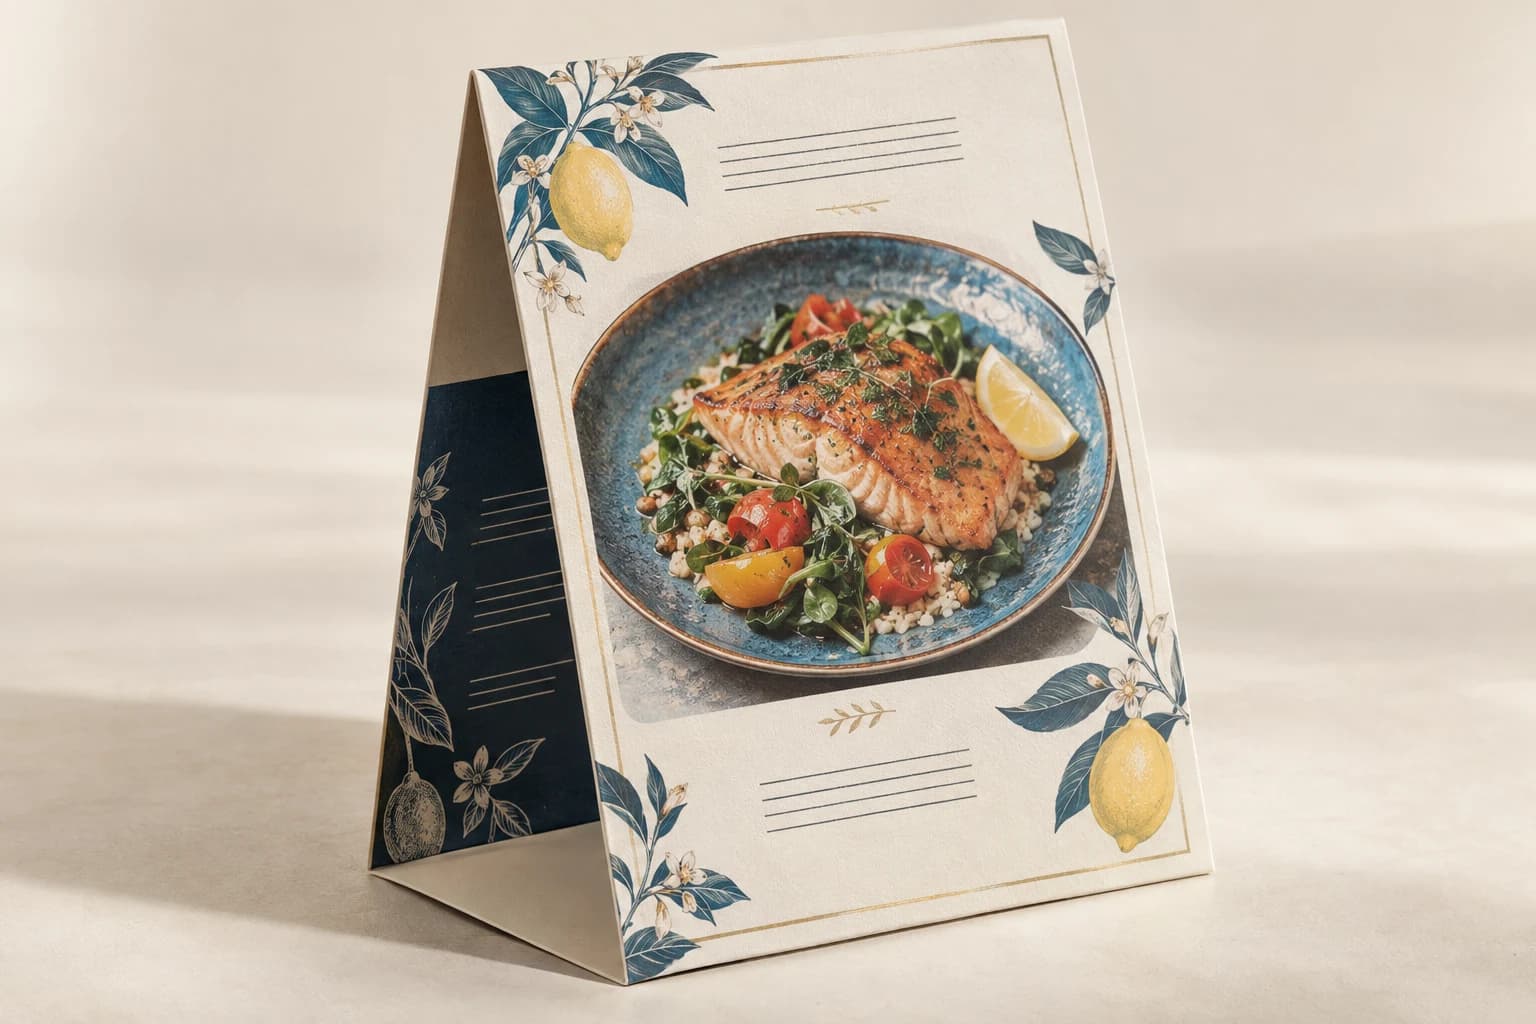
Details that change the finished product
Inspect the printed and converted format
Make the erected display stable
Choose a tent fold or locking base and check stability with the actual board. Keep small text clear of folds and closure slots.
Display structure
Visible panel size does not define the flat cutting layout or the erected base. A converted sample checks the fold, cut, glued edge or other functional feature at full size.
Surface and finishing compatibility
Scoring helps control folds; a film or raised finish across the crease needs a fold test. A white coated face supports printed color; crease geometry and fiber direction influence how the carton erects. Inspect the fold on a printed, creased and erected sample.
Counter Displays & Table Promotions
Counter display
Match the visible panel and base footprint to the available surface.
Table promotion
Review stability, fold memory and message readability on the erected sample.
Solve the risk before production
Check Display Stability & Panel Bowing
The critical finished-product check
A display can tip or bow when the base and panel stiffness are inadequate. Trial the erected structure on the actual surface before approving the dieline.
The main message faces the wrong way
Why it happens: The erected panel orientation is not checked against the flat artwork.
Fix and check: Fold a printed dummy and verify both visible faces from the customer viewing position.
When to choose another format
Table Tents, Door Hangers & Handheld Brochures
| Alternative | Use and trade-off |
|---|---|
| Door Hanger Printing | A hanging message needs a hardware-specific cutout rather than a free-standing base. |
| Brochure Printing | A handheld folded piece gives more reading panels but does not stand by itself. |
Sample and approval
Test the Erected Table Tent on the Actual Surface
Free samples are available, with preparation completed within 15 days. Confirm the sample scope; courier arrangements and transit time are separate.
Structural sample
Checks dimensions, fit and assembly using unprinted or representative materials. It does not establish final color.
Printed proof
Checks text, image reproduction and artwork on the agreed proof medium. It may not reproduce final assembly or every finish.
Complete finished sample
A converted sample checks the fold, cut, glued edge or other functional feature at full size.
From brief to delivery
Order Details for Table Tent Printing
Build and approve the order in five steps
Send the project brief
Send visible panel, footprint, closure, indoor environment and quantities per message. Include finished dimensions, quantity by version, destination and required arrival date. If a configuration is undecided, describe the intended use.
Compare the quoted configuration
Compare the same quantity basis: complete finished pieces or assembled sets per artwork version. Check that the quote identifies materials, finishing, included components, sample scope, packing and freight.
Approve the appropriate sample
A converted sample checks the fold, cut, glued edge or other functional feature at full size. A print proof checks artwork and color; a complete finished sample also checks assembly. Record what the selected sample does and does not reproduce.
Confirm files and release production
Approve the final artwork revision and the display structure specification. Record the agreed quantity, payment conditions, packing and production schedule in the order.
Confirm packing and dispatch
Define pieces per bundle or complete assemblies, component quantities and version labels. Confirm production completion and transit as separate dates, using the delivery destination and required arrival date.
- Identify finished and flat dimensions separately. Supply a print-ready PDF with fonts embedded and cut or fold geometry on separate named layers where needed.
- Extend edge-to-edge trim artwork by 3 mm unless the approved template specifies a different bleed. Use approximately 300 effective ppi for continuous-tone images at their placed size; keep fine linework as vectors where possible.
Project questions
Planning Table Tent Printing
Can the two faces carry different messages?
Yes. Mark the intended front and reverse panels on the approved flat template. Check their orientation in an erected mock-up so neither message becomes inverted after folding.
How should I specify quantities and versions?
Count complete finished pieces or assembled sets per artwork version. State visible panel, footprint, closure, indoor environment and quantities per message; components, language versions and different structures must be listed separately.
What determines the minimum quantity and delivery schedule?
The selected stock, construction, finishing, version count and sample scope determine production planning. Request quantity breaks for the same configuration and an arrival-date plan that separates sampling, manufacturing and transit. No minimum or lead time is implied by the design examples above.
Specify the finished product.
Send visible panel, footprint, closure, indoor environment and quantities per message. Include finished dimensions, quantity by version, destination and required arrival date.