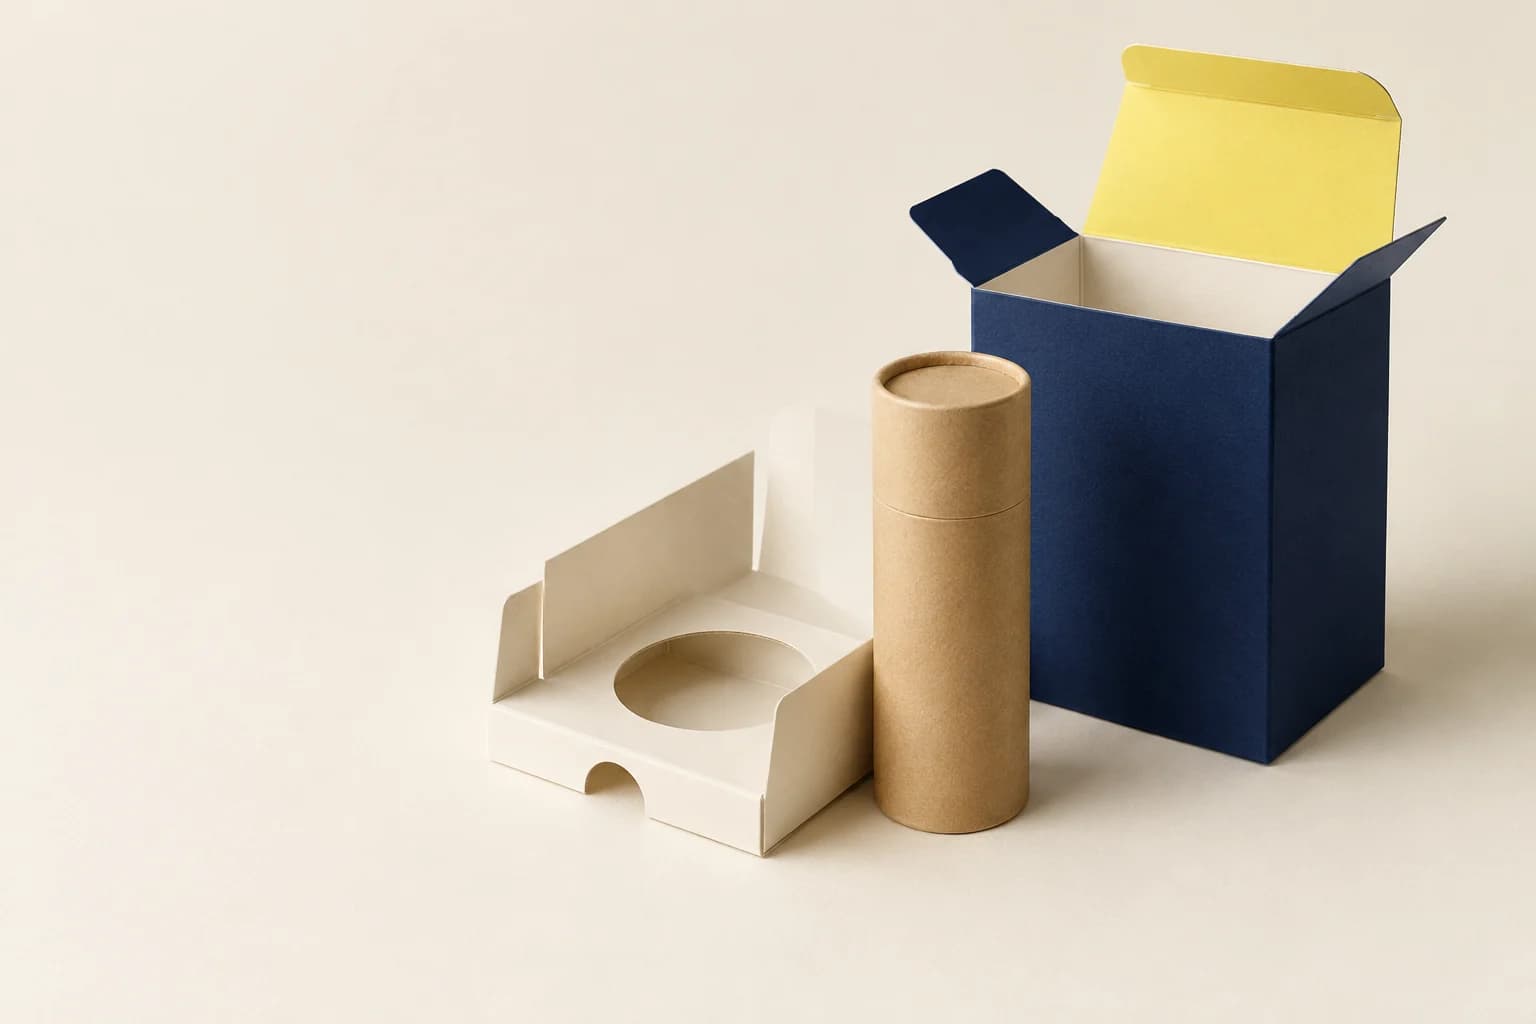
Packaging Box Printing · Formats & construction
Paper Packaging Inserts
A paper insert positions a product inside its box and gives the buyer a clear way to remove it. Choose cutouts, folds and supports around the real product and pack-out method.
- Folded card or corrugated support structures
- Product-contact areas and removal access planned
- Fit evaluated with the box and actual contents
Start with the intended use, finished size and quantity. The material and construction can follow.
The product in use
Locate the product without trapping it
An insert can create a platform, cradle, partition or separate accessory compartment. The geometry must hold the intended surfaces while leaving vulnerable areas clear. A paper structure can organize presentation and reduce movement, but it is not automatically a substitute for cushioning around fragile goods.
What makes up the finished product?
- Contact geometry
- Cutouts and pockets locate the intended product surfaces.
- Folded support
- Walls and platforms establish height and load paths.
- Box interface
- Outer dimensions, lid clearance and assembly order connect the insert to the enclosure.
Specifications and materials
Paper Packaging Inserts specifications
Use these reference options to build the project brief. Dimensions are design examples; material availability, tooling and production timing depend on the confirmed specification.
| Parameter | Reference or option | Why it matters |
|---|---|---|
| Controlling dimensions | Product shape and tolerances; box internal dimensions | Define the range to fit, not just one ideal product size. |
| Material | Folding paperboard or corrugated board | Select stiffness and caliper for span, load and fold design. |
| Structure | Platforms, cradles, partitions or folded pockets | Support and restraint must match the permitted product contact points. |
| Removal access | Finger notch, lift clearance or staged opening | Test access with the complete retail presentation. |
| Assembly scope | Flat insert, erected insert or agreed packed assembly | State the packer’s sequence and the supplied unit. |
Compare the material and its effect.
Choose the surface and construction for the way the finished product will be used. The options below are selection references, not a guaranteed inventory list.
Folding paperboard
Grade selected by stiffness and caliper
Makes defined platforms and compact folded pockets.
Sample check: Load a same-material prototype and inspect bending.
Corrugated board
Flute and liner combination by design
Can span or support differently from solid card.
Sample check: Check flute direction, folds and product-contact edges.
Printed facing
Optional on the chosen structure
Adds orientation cues or presentation graphics.
Sample check: Avoid heavy decoration where rubbing or material separation matters.
Selected sample focus — Folding paperboard: Load a same-material prototype and inspect bending.
Format & usable space
Paper Packaging Inserts: Format & Configuration
Box interior and product dimensions in mm
Use a dimensioned product or physical sample; a generic insert envelope cannot establish retention.
This is a design reference, not a required size or a manufacturing limit.
Fit planning
Support the product, restrain movement, preserve access
Treat these as three separate checks. Add only the folds and openings that solve the actual packing or removal problem.
Fit is product-specific
Box interior and product dimensions in mm
Use a dimensioned product or physical sample; a generic insert envelope cannot establish retention.
Assembly layout
Flat blank to folded support
Specify the final assembled height and how the insert enters the box.
View the original format reference
Surface finish options
Exterior printed panels or wrap
Discuss film, selective gloss and metallic accents on the exterior. Keep glue areas clear and avoid hinges, seams and creases unless tested. For relief, confirm the wrap or board construction, reverse-side effect and tooling separately.
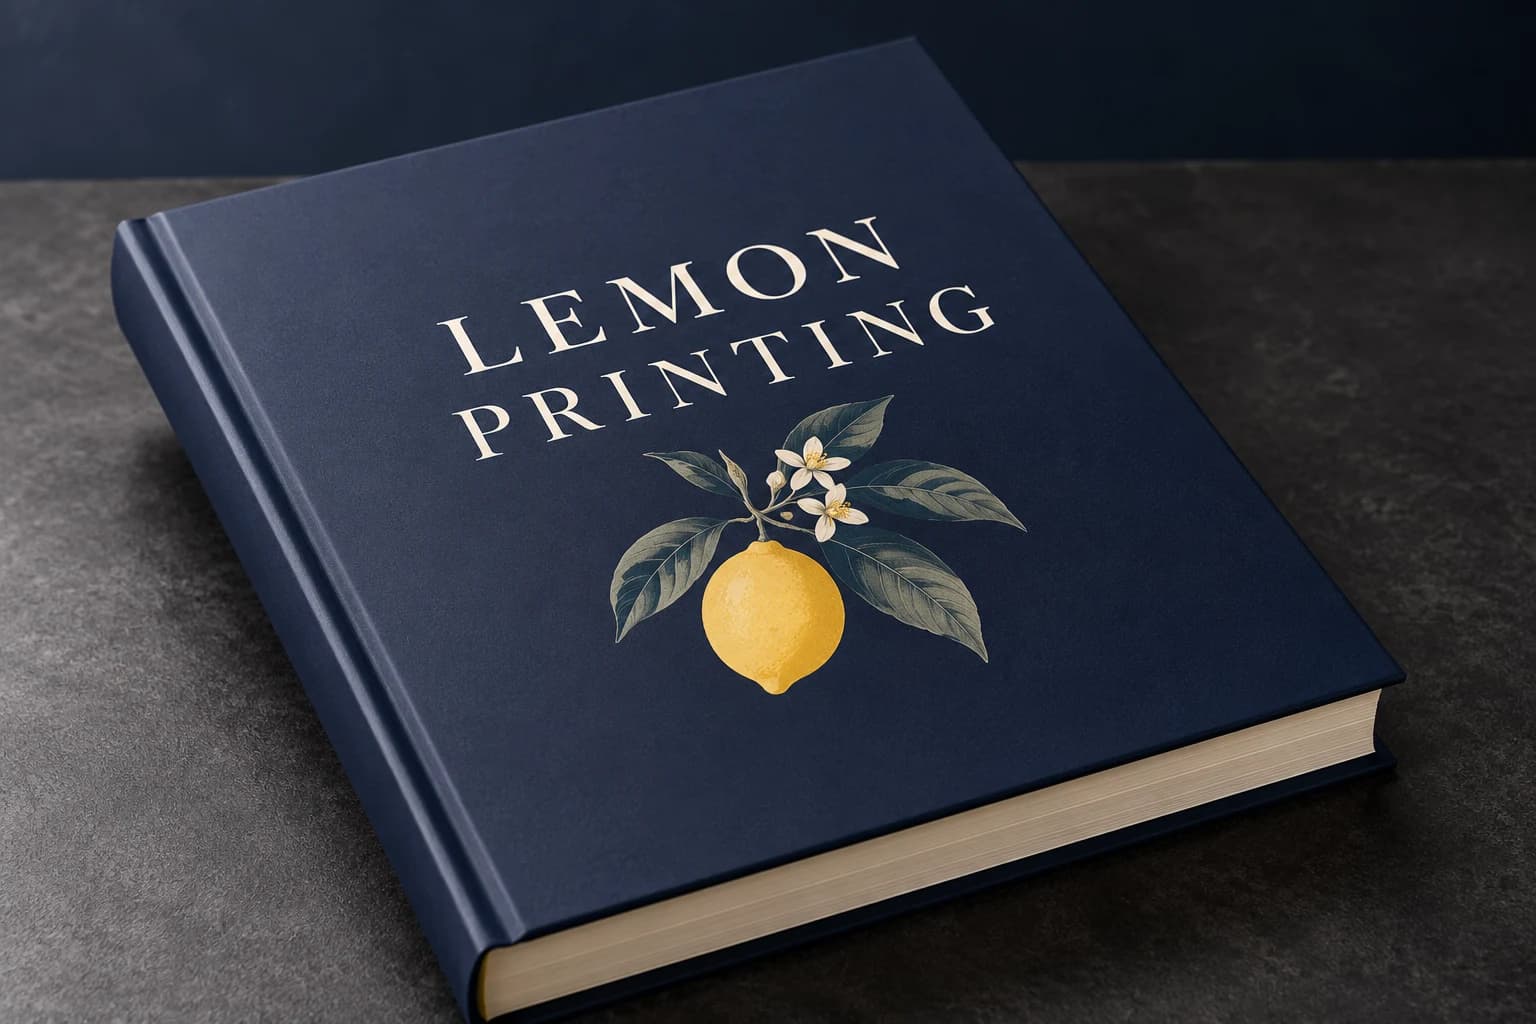 Matte lamination View effect & artwork guidance
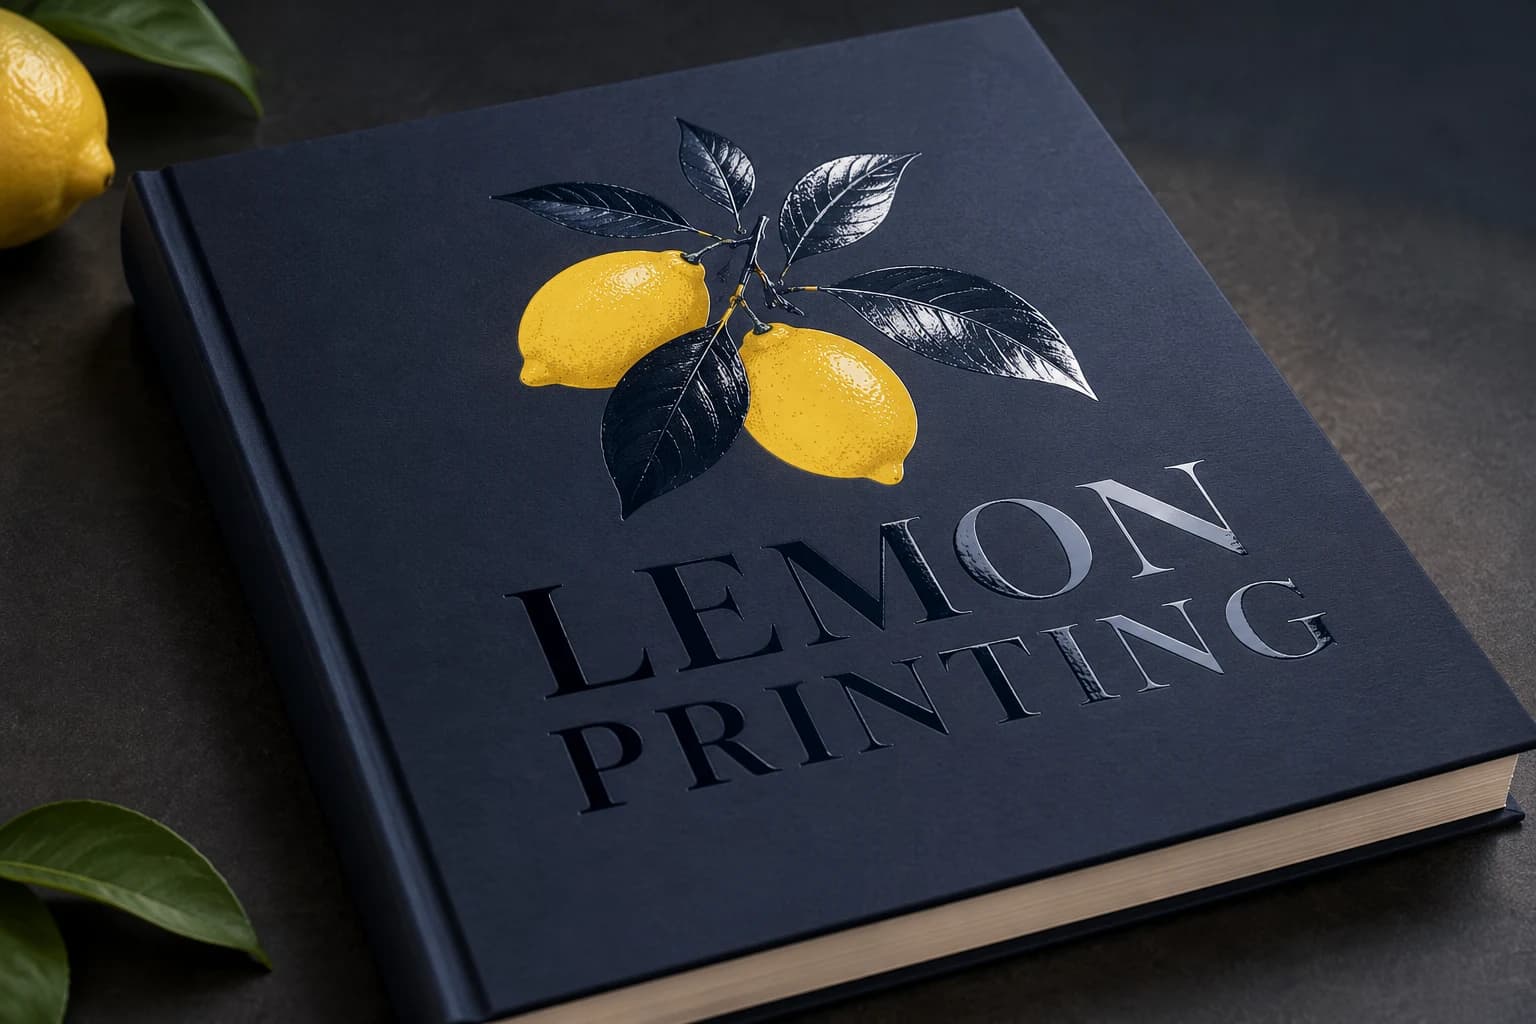 Spot UV View effect & artwork guidance
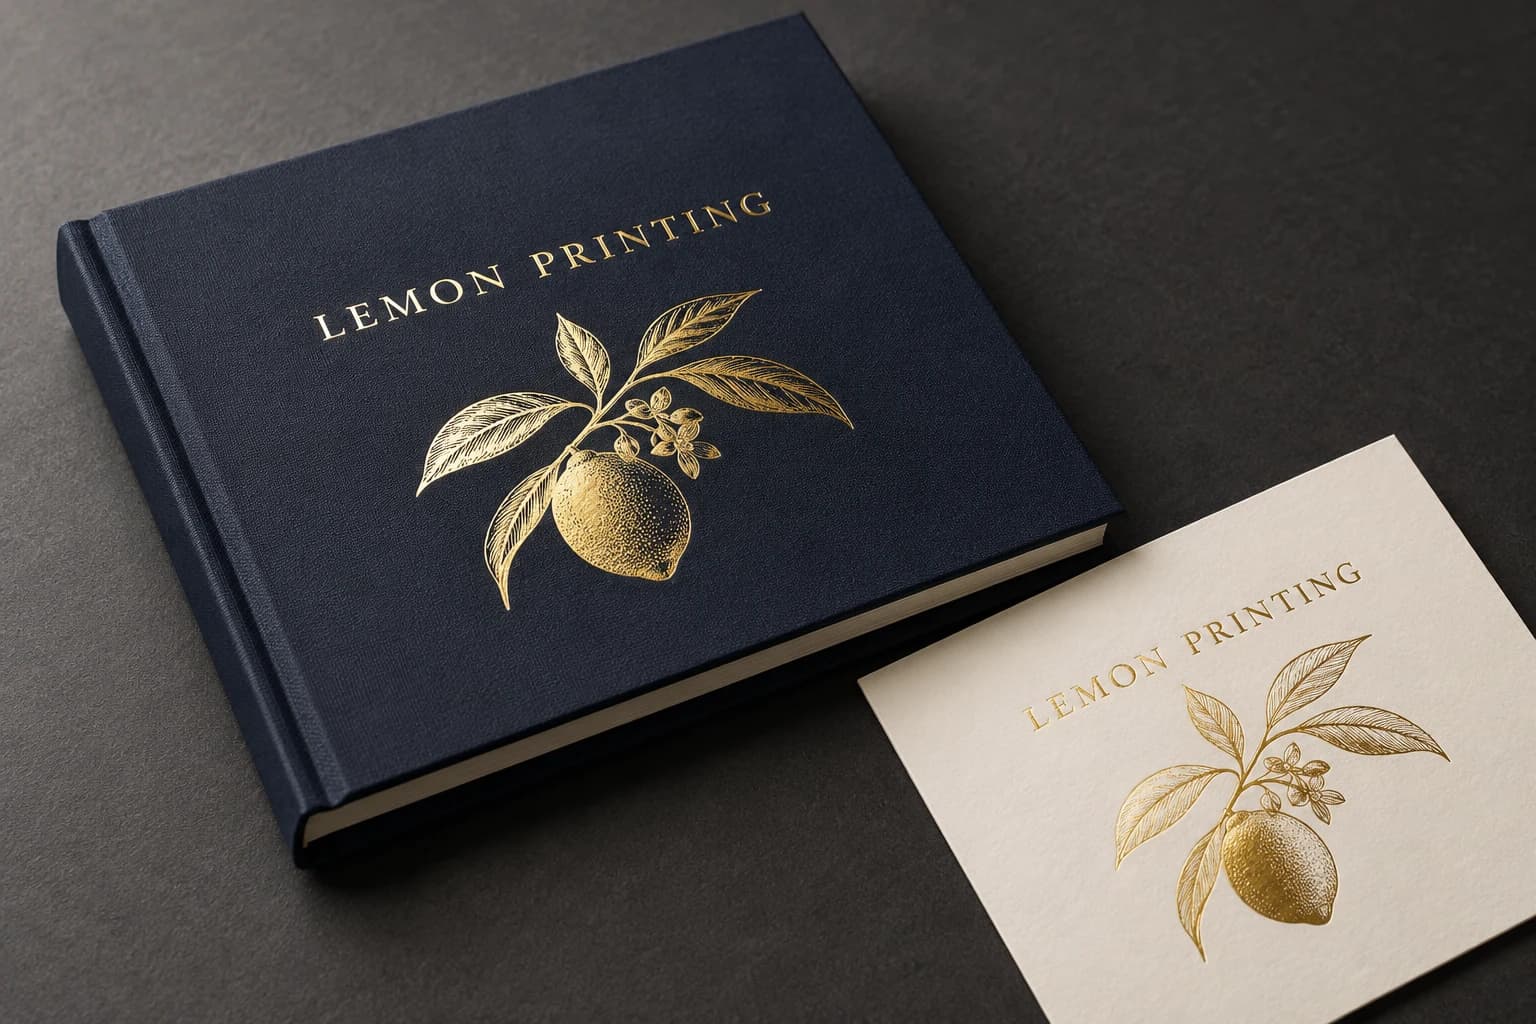 Gold foil stamping View effect & artwork guidance
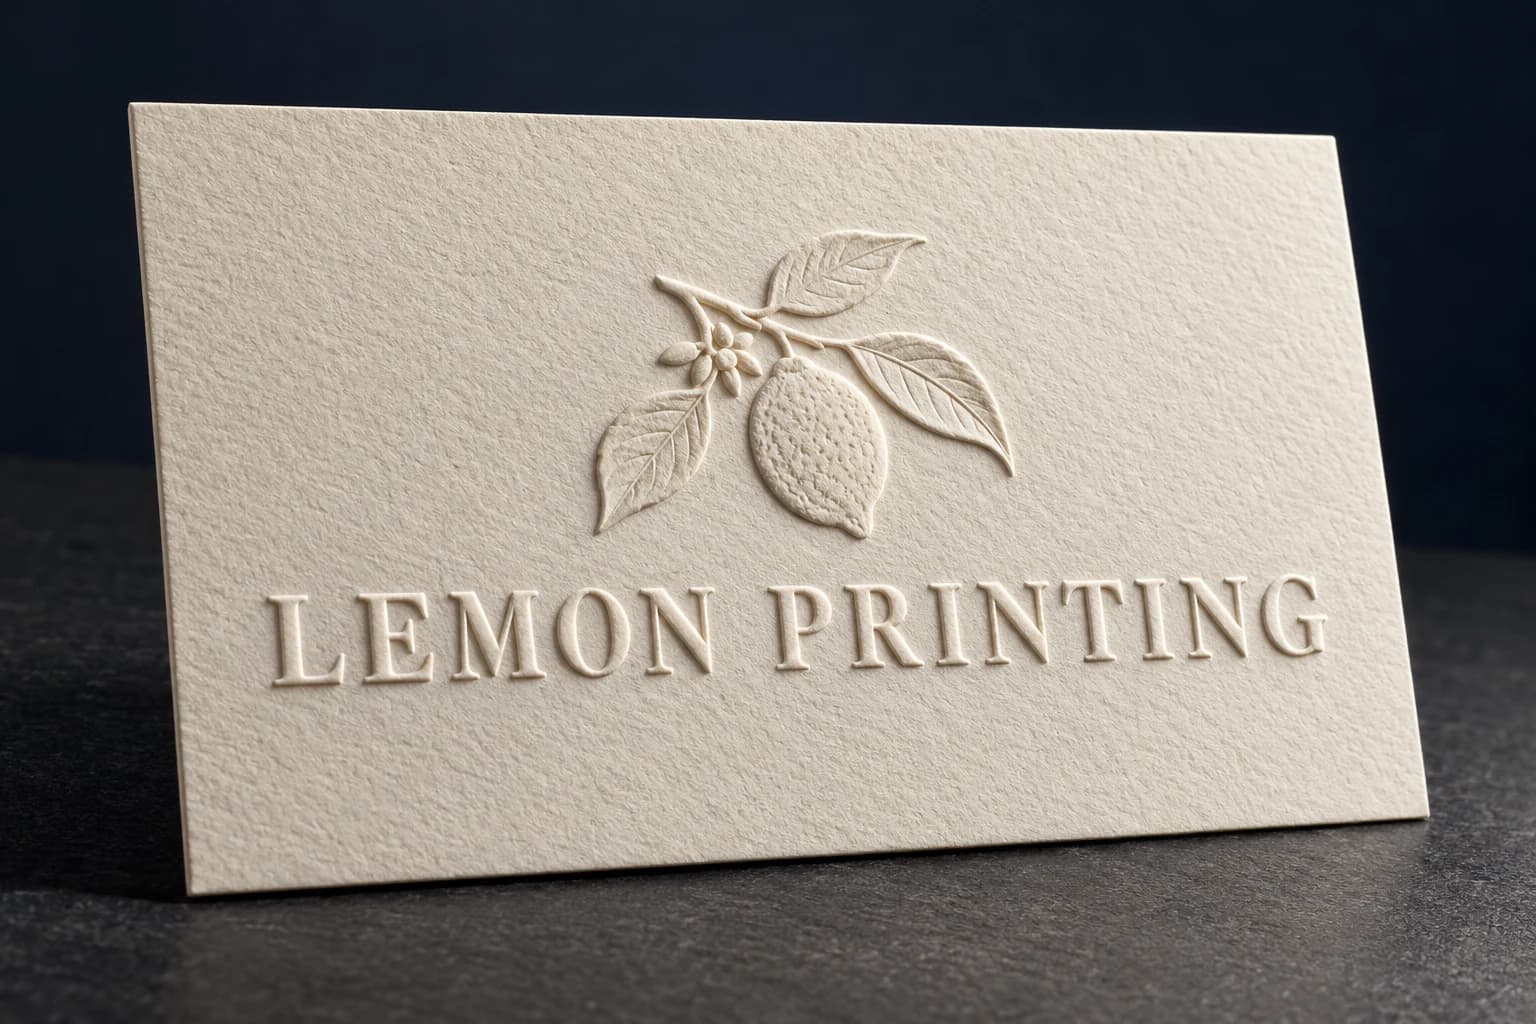 Embossing View effect & artwork guidance
Illustrative finish samples, not photographs of this product. Final suitability follows the confirmed stock, construction and approved sample.
Compare all surface finishes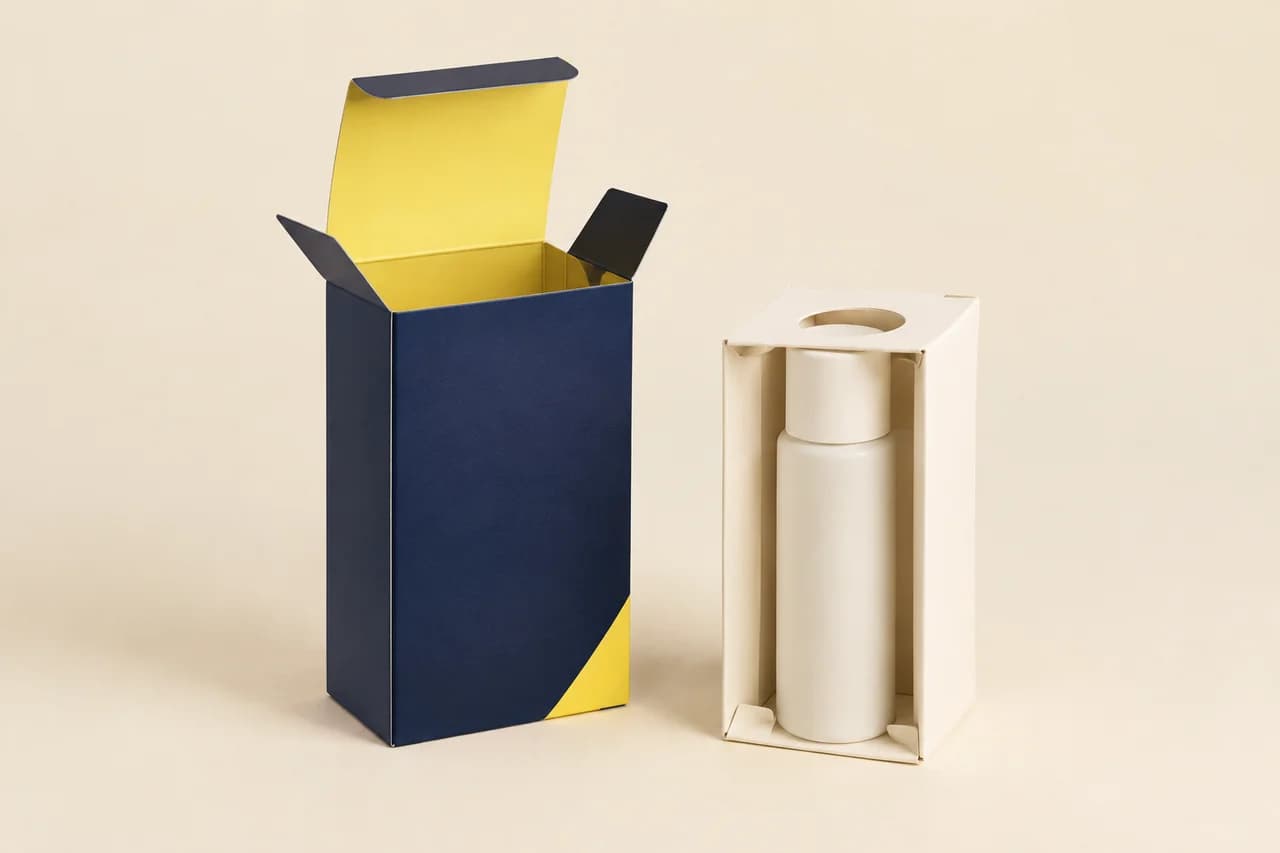
Details that change the finished product
Support, restraint and removal need different features
Design contact points deliberately
Support stable product surfaces and keep pressure off fragile features. A tight outline around the wrong surface can damage the product.
Allow the folds to create the support
Folded walls and returns add structure without relying only on sheet mass. Board direction, creases and assembly order affect the finished support.
Assess the complete package
The insert must fit the box and retain the real product. Check closure, movement and retrieval together; a flat dieline cannot demonstrate any of these.
Paper Packaging Inserts: Uses & Configurations
Sample sets
Separate components and make the removal order obvious.
Printed product kits
Keep books, cards or accessories located without hiding key information.
Retail product packs
Design contact points and retrieval around the actual product and enclosure.
Solve the risk before production
Paper Packaging Inserts: Finished-Product Checks
The critical finished-product check
A product can be held tightly but remain difficult to remove. Add an appropriate finger notch, lift space or opening sequence, then test retrieval without damaging the product or insert.
The product tilts despite a close cutout
Why it happens: The opening controls position but provides too little vertical support.
Fix and check: Add a suitable base or side support and load the real product.
The insert works once but tears during packing
Why it happens: Fold order, access or local stress makes assembly too demanding.
Fix and check: Observe repeated pack-out trials and revise notches, creases or support paths.
When to choose another format
Alternatives to Paper Packaging Inserts
| Alternative | Use and trade-off |
|---|---|
| Folding Carton Printing | The carton forms the enclosure; an insert establishes the internal arrangement and product contact. |
| Board Game Printing | A game set may need compartments for repeated setup rather than a single-use presentation cradle. |
Sample and approval
Sample & Proof Checks for Paper Packaging Inserts
Free samples are available, with preparation completed within 15 days. Confirm the sample scope; courier arrangements and transit time are separate.
Structural sample
Checks dimensions, fit and assembly using unprinted or representative materials. It does not establish final color.
Printed proof
Checks text, image reproduction and artwork on the agreed proof medium. It may not reproduce final assembly or every finish.
Complete finished sample
Load the real product, inspect contact points, close the box and remove the item several times. Assess the filled package for its intended distribution route.
From brief to delivery
Order Details for Paper Packaging Inserts
Build and approve the order in five steps
Describe product contact
Provide dimensions, weight, vulnerable areas and permitted support points.
Design the internal structure
Match the insert to the box interior and packing sequence.
Load and remove the product
Test support, restraint, closure and retrieval in the complete pack.
Freeze the assembly
Approve material, dieline, fold order and any printed instructions.
Define supplied condition
State flat or erected units and protect their creases during delivery.
- Supply product dimensions or a physical sample together with the box’s internal drawing.
- Keep cut, crease and print information separate and identify assembly direction.
- Place instructions or orientation graphics on stable visible panels; use the final structural template for all artwork.
Project questions
Planning Paper Packaging Inserts
Can an insert be designed from a product photograph?
A photograph helps identify the product but does not establish accurate fit. Supply dimensions, tolerances and preferably a physical sample.
Will a close cutout protect a fragile product?
Not necessarily. Location, support and cushioning are different functions. Evaluate the complete filled package for the relevant hazards.
Can the insert ship flat?
Many folded designs can, but fold geometry and the packer’s assembly sequence must be considered. State flat or erected supply in the order.
Does paper construction prove recyclability?
No. Coatings, adhesives, contamination and local collection rules affect the claim. Identify the actual materials and intended disposal route.
Specify the finished product.
Send the product and box dimensions, weight, fragility, contact restrictions and quantity. Identify who packs the insert, the removal sequence and whether the outer box is supplied too.