Packaging Box Printing · Formats & construction
Rigid Box Printing
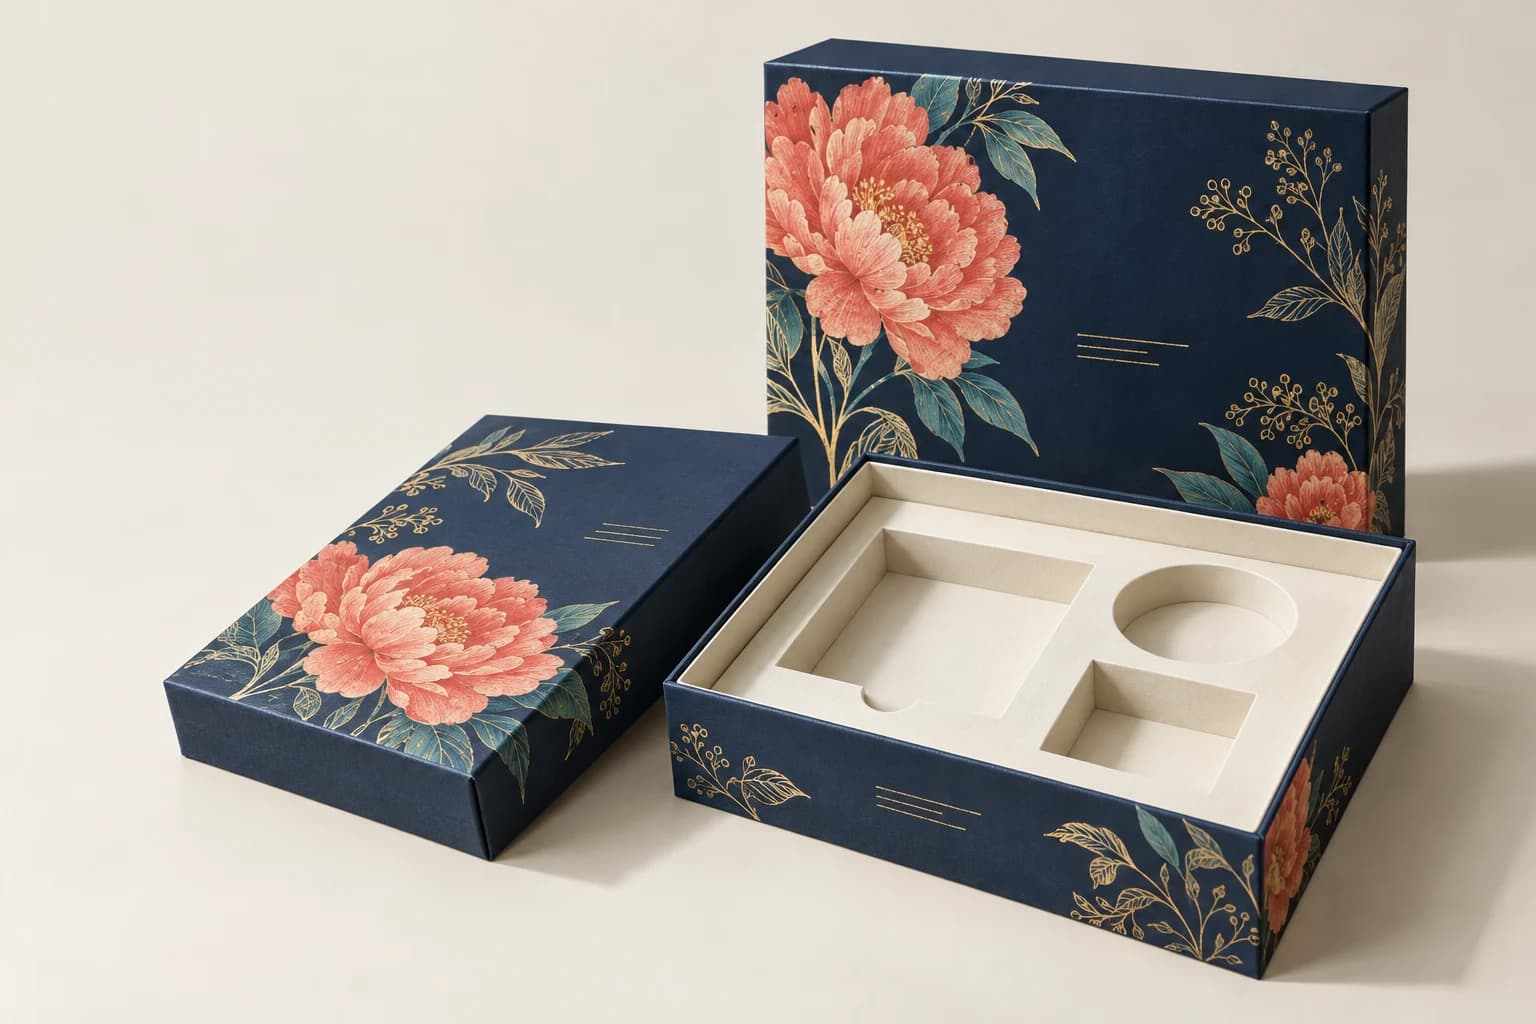
Rigid presentation boxes use a formed board structure covered with a printed or decorative wrap.
- Wrapped rigid shell; removable lid or selected hinged closure; insert
- Rigid shell and printed wrap
- Presentation pack
Start with the intended use, finished size and quantity. The material and construction can follow.
The product in use
A wrapped shell with a deliberately organized interior
The shell provides a stable presentation around the contents, while the lid and insert control access. Select a closure style before comparing decoration so the finished package serves the intended opening and storage routine.
What makes up the finished product?
- Wrapped board shell
- Formed rigid board carries the printed or decorative wrap; board and turn-ins reduce the usable cavity.
- Opening structure
- Choose a removable lid or specified hinged closure, then check the access path with the actual insert and contents.
- Contents fit
- The cavity and insert position the actual contents; outside dimensions describe the finished pack.
Specifications and materials
Rigid Box Printing specifications
Use these reference options to build the project brief. Dimensions are design examples; material availability, tooling and production timing depend on the confirmed specification.
| Parameter | Reference or option | Why it matters |
|---|---|---|
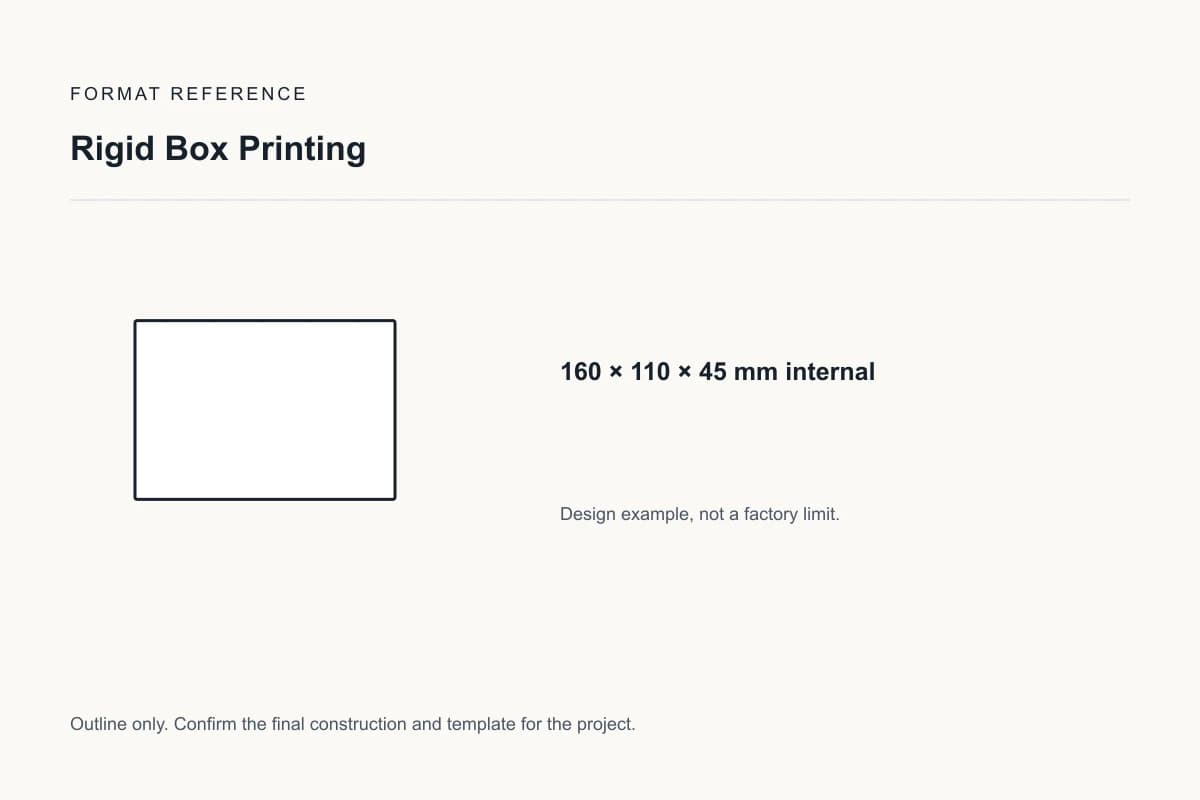
| Finished dimensions | 160 × 110 × 45 mm internal | This example holds a small gift set only if the contents and insert fit the usable cavity. Design reference, not a factory limit. |
| Structural components | Wrapped rigid shell; removable lid or selected hinged closure; insert | Rigid shells retain their shape; insert cavities determine location and removal. |
| Dimension basis | Inside cavity and outside finished dimensions, with the order of length × width × height | The packed product must fit the usable cavity, not merely the stated outside size. |
| Contents and insert | Actual item dimensions and mass; cavity, divider or retention requirements | Trial insertion and removal using the real contents before approving the structure. |
| Material construction | Rigid shell and printed wrap or Material wrap and lining | Compare the actual grade and construction. Inspect a fully wrapped box, including the inner corners and lid fit. |
| Format and order unit | complete packs per structure, size and artwork version | List components and versions separately so quantities refer to the same finished unit. |
| Finishing choice | Foil or embossing belongs on the wrap; tooling and wrap grain must be compatible with assembly. | Approve the proposed material and process combination on an appropriate sample. |
Compare the material and its effect.
Choose the surface and construction for the way the finished product will be used. The options below are selection references, not a guaranteed inventory list.
Rigid shell and printed wrap
Greyboard shell with separately specified cover paper
Board forms the shape; the wrap carries artwork and folds over its edges. Board thickness and wrap seams both affect usable space.
Sample check: Inspect a fully wrapped box, including the inner corners and lid fit.
Material wrap and lining
Cloth, specialty paper or printed lining where appropriate
A textured exterior changes foil detail and rub behavior. Linings and inserts reduce the cavity available for the contents.
Sample check: Evaluate the actual wrap, decoration and lining as one assembled sample.
Selected sample focus — Rigid shell and printed wrap: Inspect a fully wrapped box, including the inner corners and lid fit.
Format & usable space
Rigid Box Cavity, Closure & Insert Layout
160 × 110 × 45 mm internal
This example holds a small gift set only if the contents and insert fit the usable cavity.
This is a design reference, not a required size or a manufacturing limit.
Structural components
Wrapped rigid shell; removable lid or selected hinged closure; insert
Rigid shells retain their shape; insert cavities determine location and removal.
Define the shell before choosing the closure
Rigid describes the wrapped board shell. It does not identify the lid, hinge or access method. Choose that structure around how the item is presented and removed, then measure the insert and contents as a complete arrangement.
- Board and wrap
- Specify the board grade and caliper separately from the printed wrap and lining.
- Usable space
- An insert, folded lining or divider can reduce the space available inside the shell.
- Next decision
- Compare a separate lid and base, a hinged magnetic closure, or a flat-packed collapsible structure.
Why board caliper and GSM are separate specifications
Caliper measures thickness; grammage measures mass per area. Neither alone approves a finished box. Grade, panel span, wrap and assembly affect the structure.
| Board caliper | Published grammage |
|---|---|
| 1.50 mm | 945 g/m² |
| 2.00 mm | 1,260 g/m² |
| 2.50 mm | 1,575 g/m² |
Box specification notes
Enter values from your equipment guide or product measurements. Copy the notes into your inquiry; this tool records a brief and does not calculate a production limit or approve fit.
Review and copy your specification notes
View the original format reference
Surface finish options
Exterior printed panels or wrap
Discuss film, selective gloss and metallic accents on the exterior. Keep glue areas clear and avoid hinges, seams and creases unless tested. For relief, confirm the wrap or board construction, reverse-side effect and tooling separately.
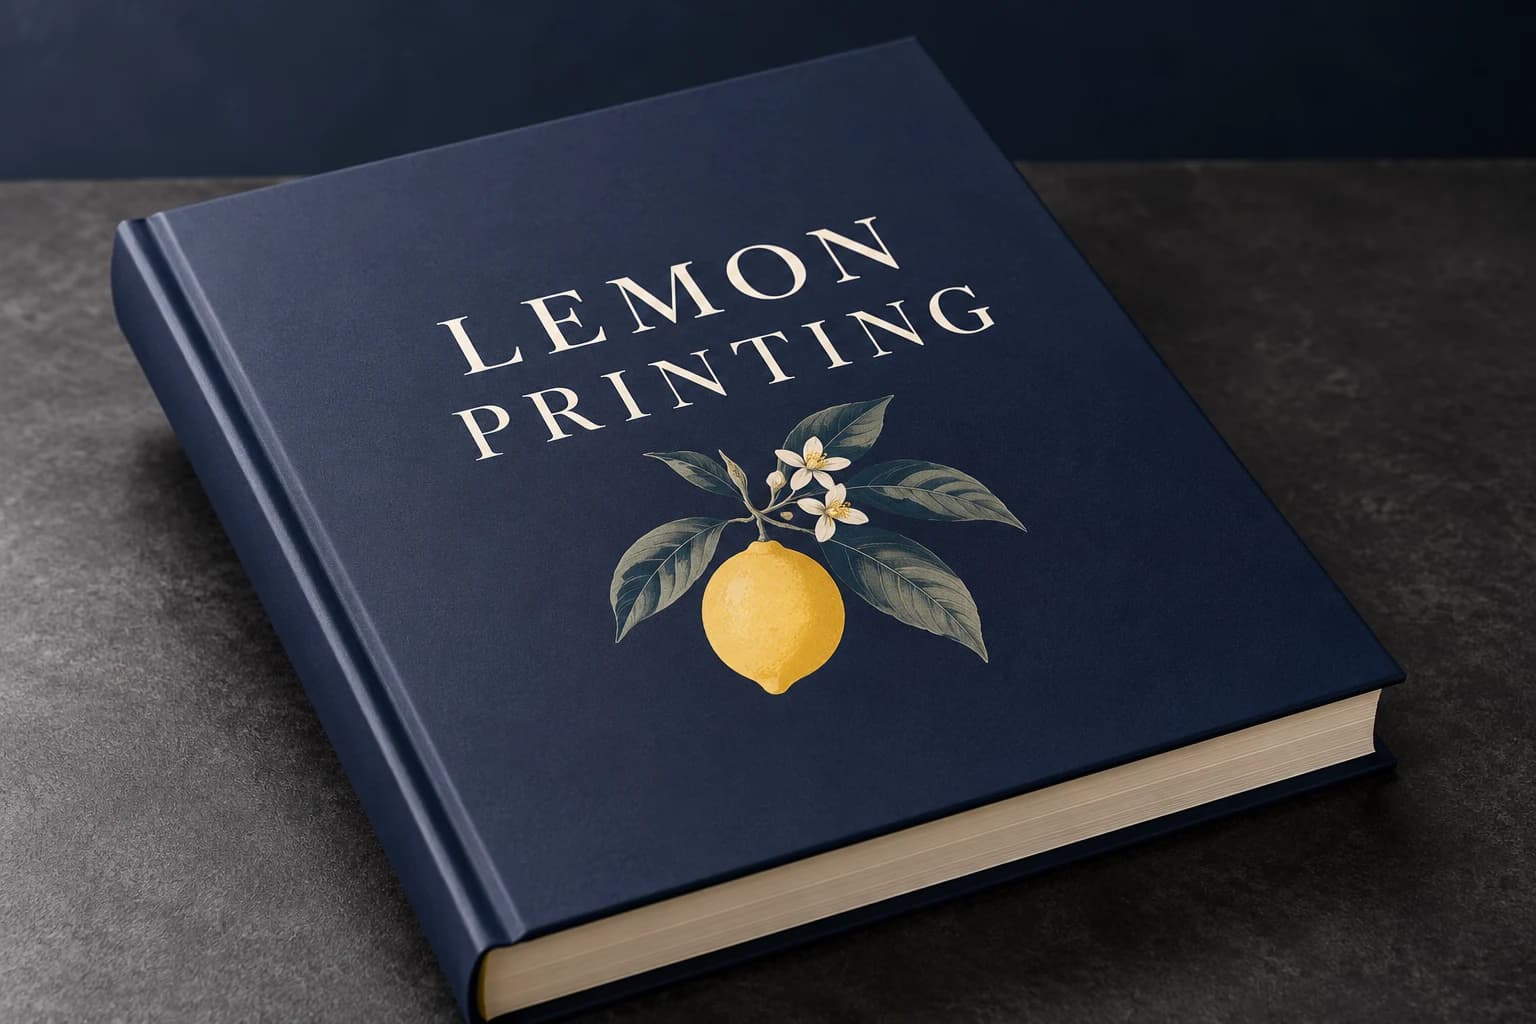 Matte lamination View effect & artwork guidance
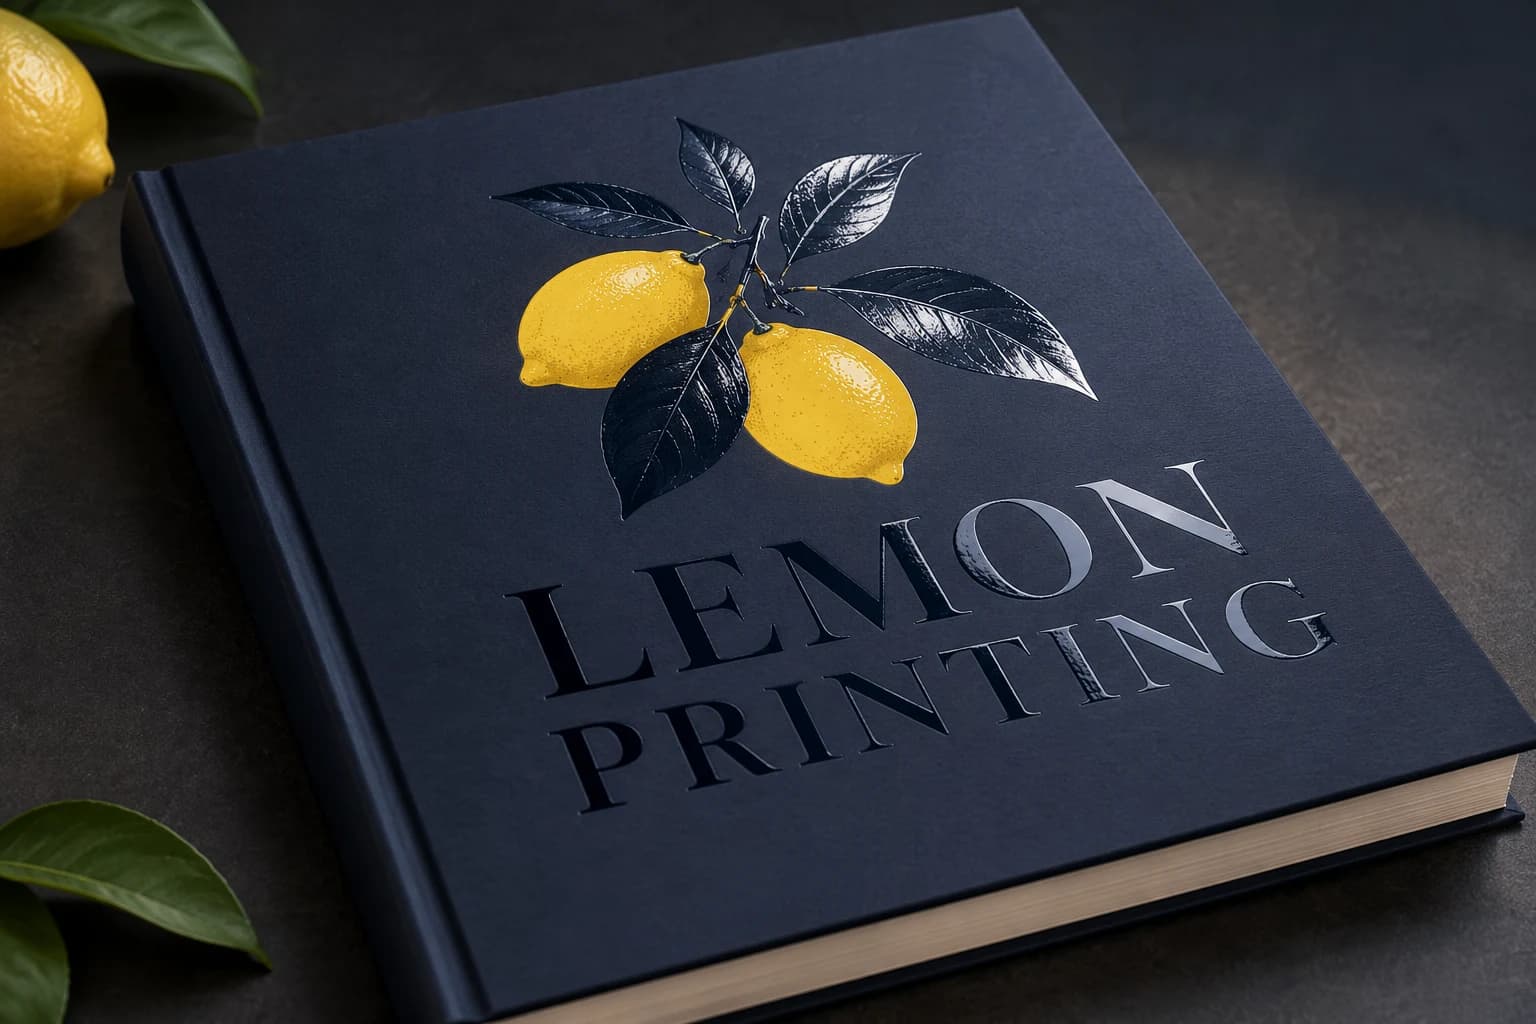 Spot UV View effect & artwork guidance
 Gold foil stamping View effect & artwork guidance
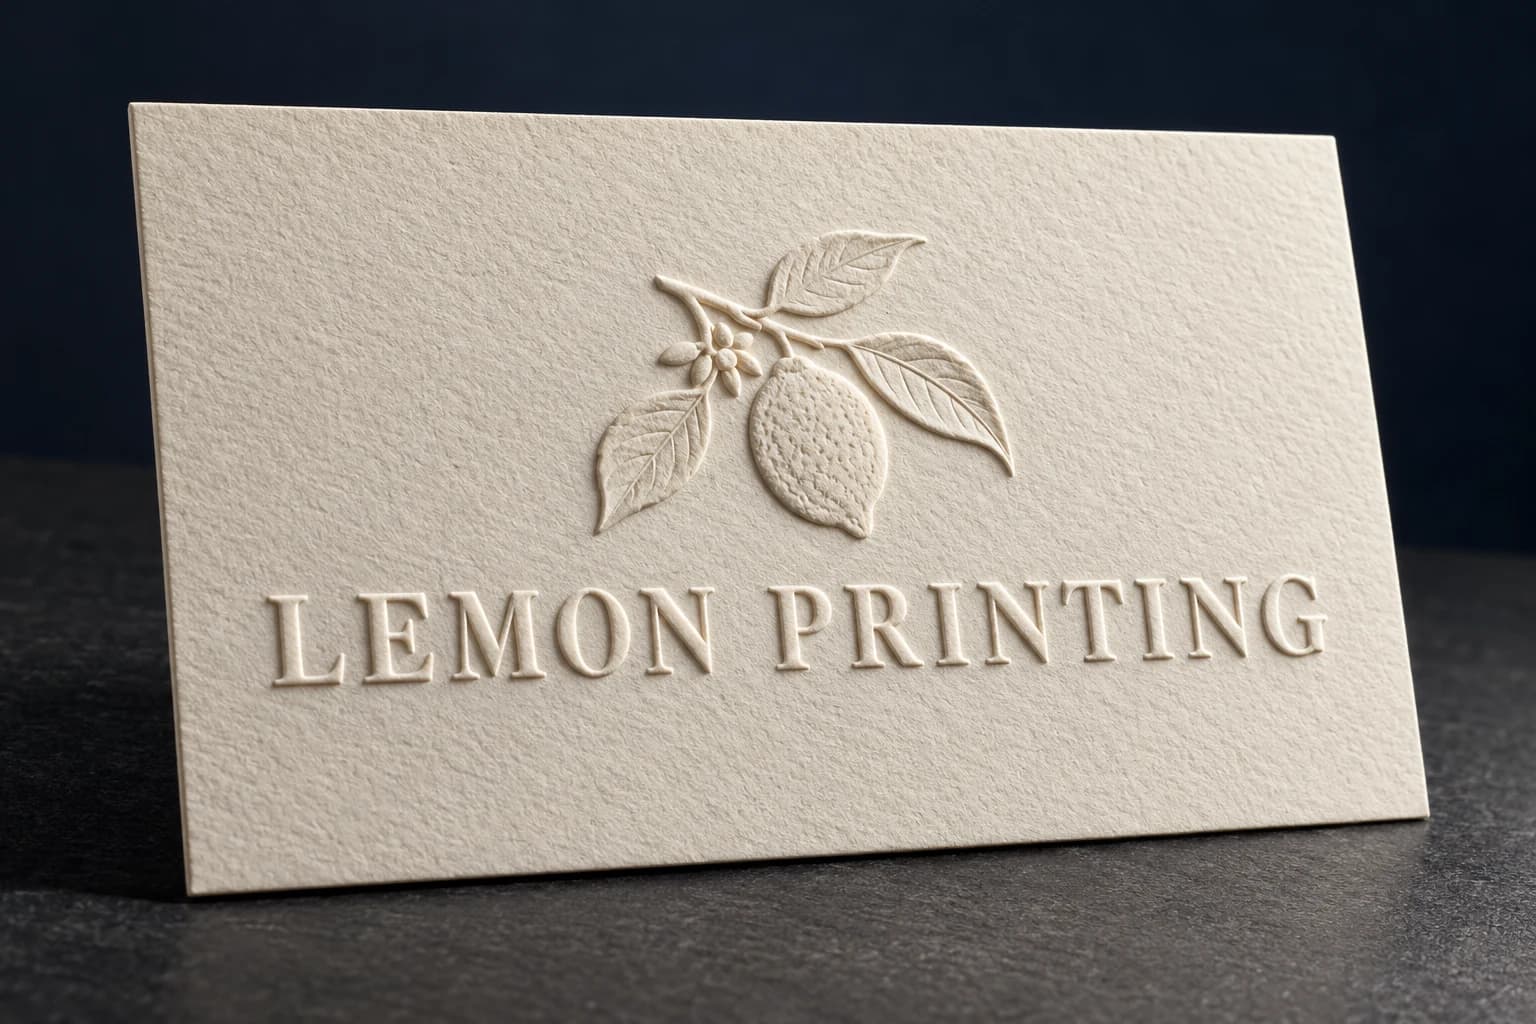 Embossing View effect & artwork guidance
Illustrative finish samples, not photographs of this product. Final suitability follows the confirmed stock, construction and approved sample.
Compare all surface finishes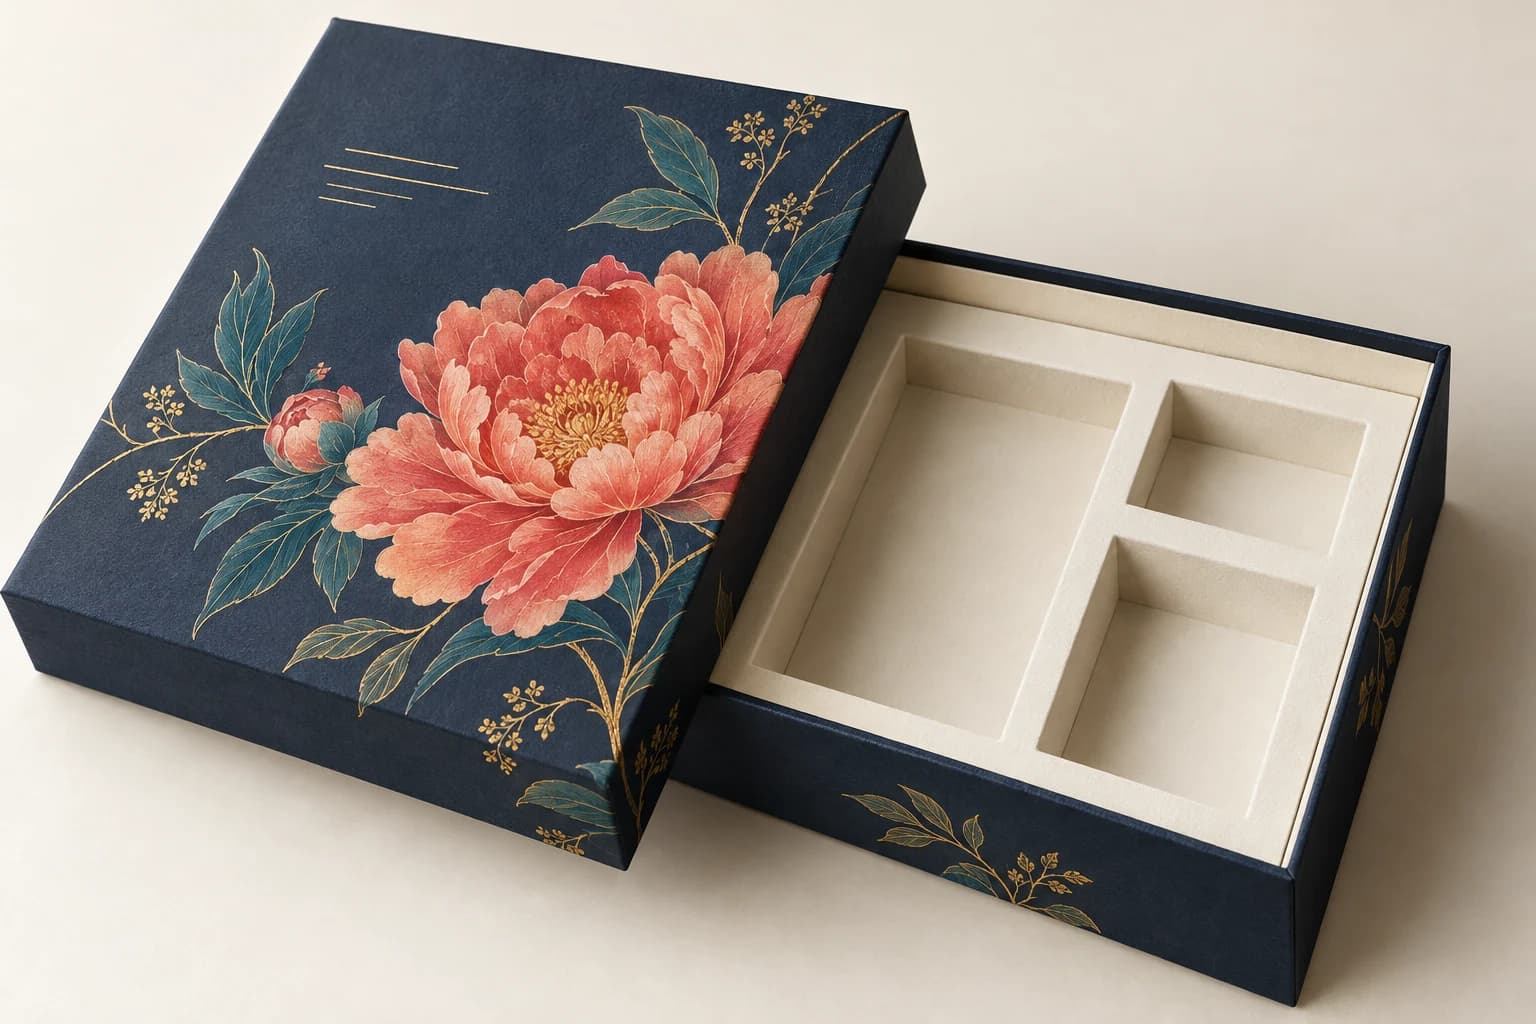
Details that change the finished product
Inspect the structure, wrap and contents fit
Fit the insert to the actual contents
Specify internal fit separately from outside shipping limits. Corner joints, wrap turn-ins and insert thickness all consume usable space.
Structural components
Rigid shells retain their shape; insert cavities determine location and removal. A structural sample checks fit, opening, erection and the insert with the actual contents.
Surface and finishing compatibility
Foil or embossing belongs on the wrap; tooling and wrap grain must be compatible with assembly. Board forms the shape; the wrap carries artwork and folds over its edges. Board thickness and wrap seams both affect usable space. Inspect a fully wrapped box, including the inner corners and lid fit.
Rigid Presentation Packs & Multi-Item Gift Sets
Presentation pack
Fit the insert to the item and preserve finished surfaces during removal.
Multi-item gift set
Map item positions and removal order, including different assortments.
Solve the risk before production
Check Product Retention & Removal with the Insert
The critical finished-product check
A snug product can become trapped after an insert is added. Trial the actual contents in a fully assembled structural sample and check removal as well as retention.
The insert reduces usable space
Why it happens: The cavity is calculated from the outside shell without allowing for lining and retention parts.
Fix and check: Dimension the assembled interior and test placement, retention and removal with the real contents.
When to choose another format
Rigid Shells, Lift-Off Boxes & Folding Cartons
| Alternative | Use and trade-off |
|---|---|
| Folding Carton Printing | A creased single-sheet carton ships compactly and has different stiffness and assembly behavior. |
| Two-Piece Rigid Box Printing | A lift-off lid provides a specific opening experience without a hinged flap. |
Sample and approval
Test the Rigid Box with Its Insert & Actual Contents
Free samples are available, with preparation completed within 15 days. Confirm the sample scope; courier arrangements and transit time are separate.
Structural sample
Checks dimensions, fit and assembly using unprinted or representative materials. It does not establish final color.
Printed proof
Checks text, image reproduction and artwork on the agreed proof medium. It may not reproduce final assembly or every finish.
Complete finished sample
A structural sample checks fit, opening, erection and the insert with the actual contents.
From brief to delivery
Order Details for Rigid Box Printing
Build and approve the order in five steps
Send the project brief
Send contents dimensions, weight, insert and closure style. Include finished dimensions, quantity by version, destination and required arrival date. If a configuration is undecided, describe the intended use.
Compare the quoted configuration
Compare the same quantity basis: complete packs per structure, size and artwork version. Check that the quote identifies materials, finishing, included components, sample scope, packing and freight.
Approve the appropriate sample
A structural sample checks fit, opening, erection and the insert with the actual contents. A print proof checks artwork and color; a complete finished sample also checks assembly. Record what the selected sample does and does not reproduce.
Confirm files and release production
Approve the final artwork revision and the structural components specification. Record the agreed quantity, payment conditions, packing and production schedule in the order.
Confirm packing and dispatch
State flat or erected delivery, inserts per box, protection between finished surfaces and carton counts. Confirm production completion and transit as separate dates, using the delivery destination and required arrival date.
- Use the approved vector dieline at 1:1 scale, with cut, crease and glue areas on separate named layers. Mark inside and outside dimensions explicitly.
- Extend edge-to-edge trim artwork by 3 mm unless the approved template specifies a different bleed. Use approximately 300 effective ppi for continuous-tone images at their placed size; keep fine linework as vectors where possible.
Project questions
Planning Rigid Box Printing
Can a presentation insert replace shipping protection?
Not automatically. An insert may locate the contents for display without providing enough cushioning for transit. Describe the shipping method and outer-pack requirements so the full packed system can be evaluated.
How should I specify quantities and versions?
Count complete packs per structure, size and artwork version. State contents dimensions, weight, insert and closure style; components, language versions and different structures must be listed separately.
What determines the minimum quantity and delivery schedule?
The selected stock, construction, finishing, version count and sample scope determine production planning. Request quantity breaks for the same configuration and an arrival-date plan that separates sampling, manufacturing and transit. No minimum or lead time is implied by the design examples above.
Specify the finished product.
Send contents dimensions, weight, insert and closure style. Include finished dimensions, quantity by version, destination and required arrival date.