A label that looks correct on its backing sheet may fail on the product. The face material, adhesive, surface and application conditions need to work together. Start a custom sticker and label printing brief by describing the object being labeled and the environment it will meet, then choose the visual finish.
Describe the application surface precisely
Specify the surface material, coating, texture and shape. Glass, coated paperboard and different plastics do not present the same bonding conditions. A small curved container also places different demands on a label than a broad flat panel. Send a representative container or substrate sample when adhesion is important.
Record whether the surface will be clean and dry when the label is applied. Dust, oils, moisture and handling residues can change the result. If the product is labeled before filling, after refrigeration or at a customer’s site, tell the printer: those are different workflows and should not be hidden inside a general request for a strong adhesive.
Separate application conditions from service conditions
Application temperature is the condition when the label is attached; service temperature describes what it experiences afterward. Avery Dennison’s adhesive guidance distinguishes these because a material that survives a condition after bonding may not attach reliably in that same condition. Request the relevant material data and test under the actual workflow.
Also describe exposure to condensation, splashes, rubbing, sunlight, cleaners or repeated handling. Do not assume that a film label makes the entire printed construction waterproof. The printing, protective finish, adhesive and cut edges must all suit the expected use.
Choose the face material and finish
Paper can suit many dry indoor uses and offers a range of visual and writing surfaces. Film options can serve different flexibility or moisture-resistance requirements, but the exact construction matters. Ask for a recommendation based on your use conditions rather than selecting only from a photograph.
Confirm whether the label must be written on, overprinted or scanned. A glossy finish that looks attractive may not suit handwriting or every scanning angle. For transparent labels, discuss opacity and any white ink layer before artwork approval. Review the label on the actual product so that its contents, color and surface remain part of the visual decision.
Specify permanent, removable or other behavior
Explain what the label must do at the end of use. A permanent identification label, a removable promotional sticker and a seal are different briefs. Request a target removal behavior and test it on the intended surface after a relevant dwell period. Do not assume a removable adhesive will behave identically on all surfaces or after every storage condition.
Material manufacturers offer specialized adhesive constructions; that does not mean every option is available for every print order. Confirm the proposed material reference in the quote, along with any substitution rules. Avoid claims about food contact, recyclability or security performance without documentation for the complete intended construction and use.
Plan sheets, rolls and artwork together
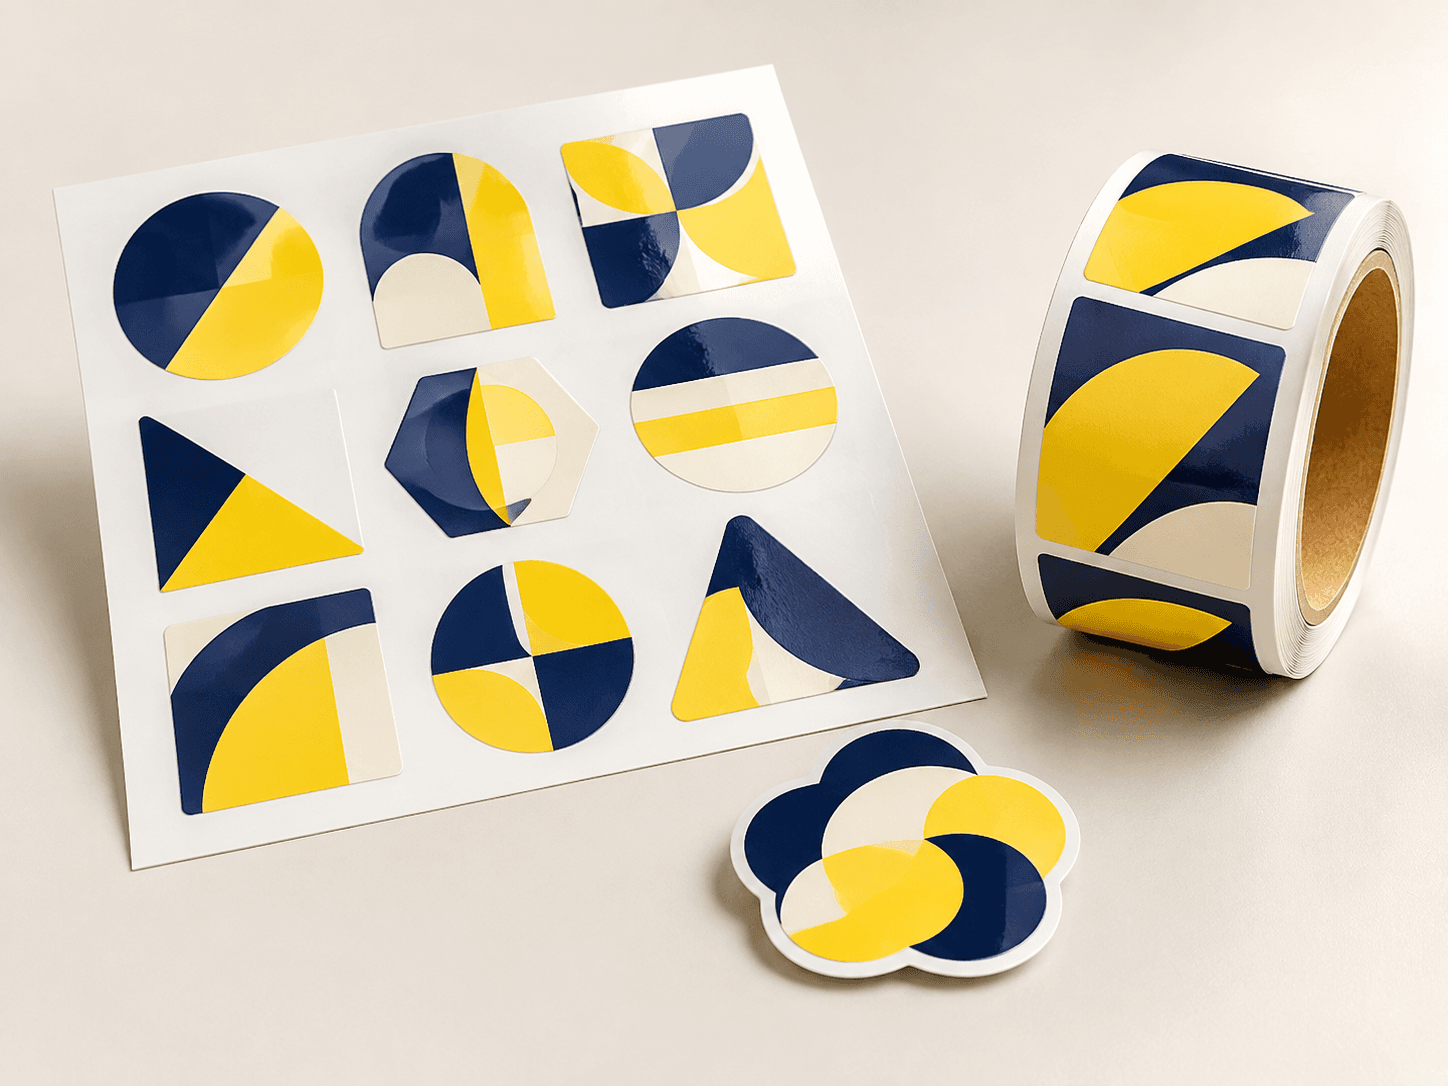
Choose individual pieces or sheets for hand application where appropriate. If a machine will apply roll labels, provide its core, maximum roll size, winding direction, label orientation and sensing requirements. Agree the gap and backing specification with the equipment operator. A roll can contain correctly printed labels and still be incompatible with an applicator.
Keep critical copy and codes inside the approved safe area, extend backgrounds to the requested bleed, and separate the cut path from printed artwork. Provide variable data in an agreed format and verify samples from different parts of the sequence. See the quality-control workflow for agreeing release checks.
Test before committing the full run
- Apply the proposed construction to representative products using the planned method.
- Check initial placement and adhesion after an agreed dwell time.
- Inspect edges, printed information and any code after expected storage or handling.
- Where removal matters, check both the label and the surface for the agreed result.
Record the material reference, surface preparation and test conditions. A useful sample approval describes what was tested and why; it is not a blanket guarantee for a different container or environment.
Label printing FAQ
Why are label edges lifting?
Possible factors include the adhesive, surface contamination, curvature, face-material stiffness or application conditions. Share the substrate and a sample so the construction can be assessed.
Can I use the same label on paper boxes and plastic bottles?
Only after confirming that the proposed construction suits both. Compare the actual surfaces and handling conditions rather than assuming a shared design means a shared material.
What belongs in a label quote request?
Include finished shape and size, quantity by design, substrate, environment, face material, desired adhesion or removal behavior, print and finish, roll or sheet requirements, delivery date and destination.
Prepare your label project
Review the sticker and label options, coordinate any associated printed packaging, then send your label brief with a product photograph or surface sample.
Technical reference
Avery Dennison: adhesive technologies technical guide. This reference explains selection considerations; final suitability depends on the specified material and actual application.