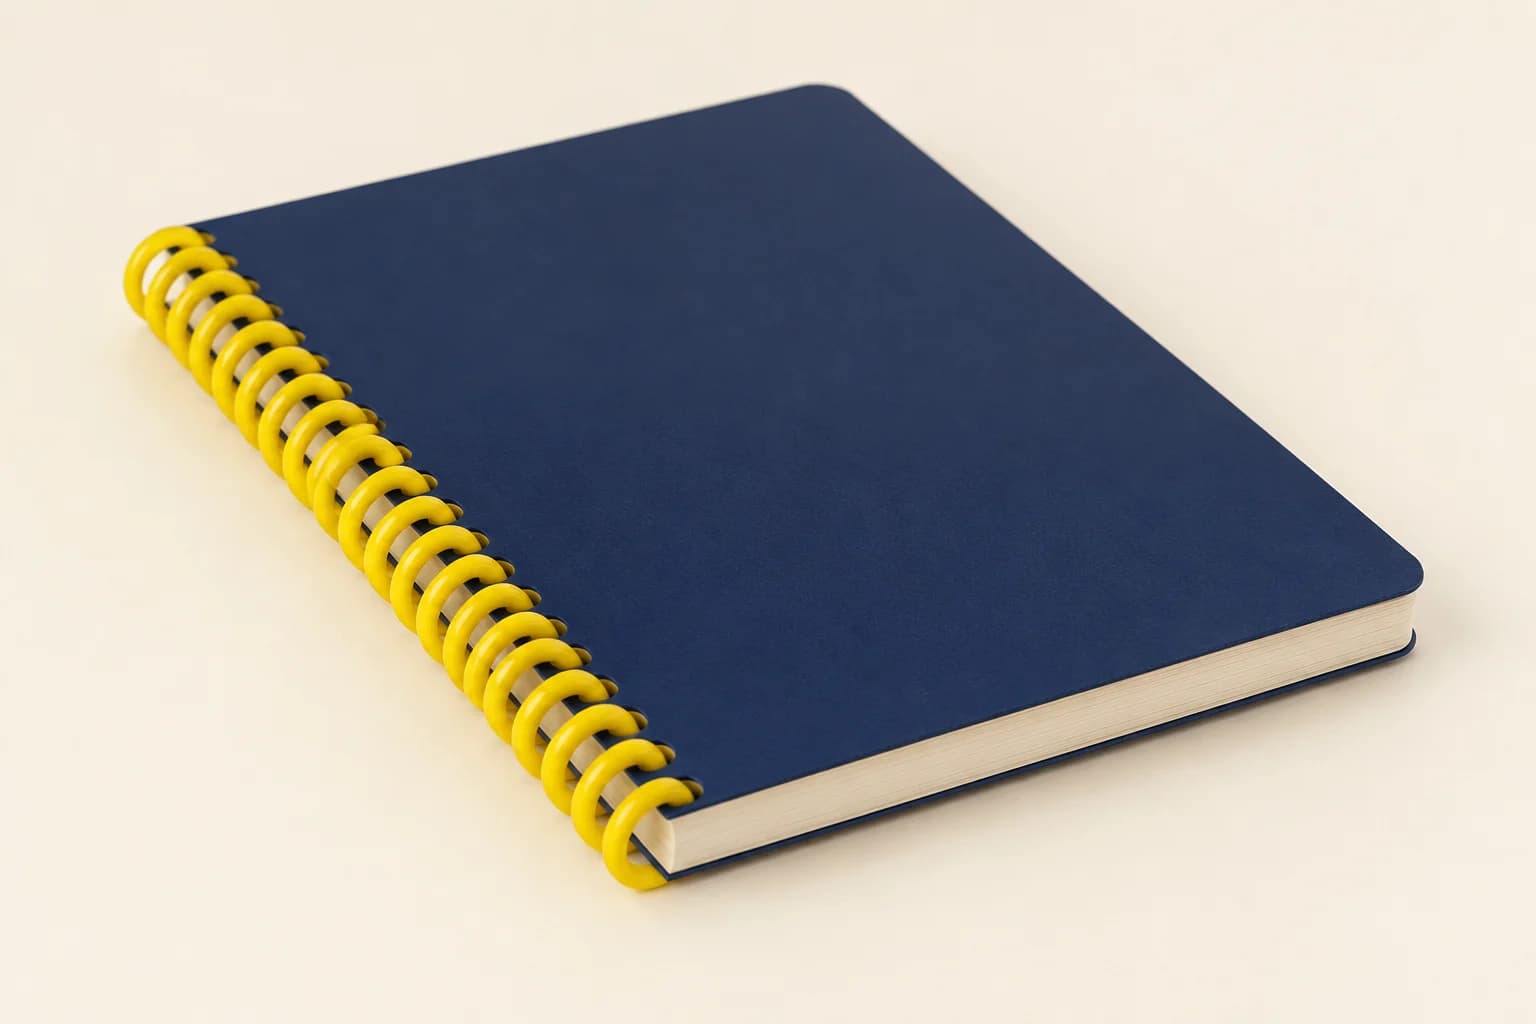
Book Printing · Formats & construction
Spiral Notebook Printing
A continuous coil lets a notebook fold back for writing in a smaller desk space. Plan the paper, hole margin and cover around repeated page turning.
- Continuous coil with fold-back page turning
- Punch margin planned with the ruling
- Diameter selected from the actual stack
Start with the intended use, finished size and quantity. The material and construction can follow.
The product in use
Fold-back writing with a continuous coil
Individual leaves are punched along one edge and threaded onto a continuous spiral. The coil remains visible, and the writing area must leave room for the holes. This construction suits working notebooks that are handled one page at a time; it differs from twin-loop Wire-O, which uses a closed double-wire element.
What makes up the finished product?
- Punched writing leaves
- Each leaf turns independently around the binding edge.
- Continuous coil
- The spiral threads through the full stack and permits fold-back handling.
- Covers and dividers
- Their thickness and overhang affect coil clearance and alignment.
Specifications and materials
Spiral Notebook Printing specifications
Use these reference options to build the project brief. Dimensions are design examples; material availability, tooling and production timing depend on the confirmed specification.
| Parameter | Reference or option | Why it matters |
|---|---|---|
| Trim size | A5 or A4 design references; long-edge or short-edge binding | Binding orientation changes page turning and the usable writing field. |
| Writing stock | 90 or 100 g/m² uncoated supplier references | Check pen behavior, opacity and tearing around holes. |
| Count convention | Leaves, printed faces and divider leaves stated separately | 100 leaves provide 200 faces before separately specified covers or dividers. |
| Binding element | Continuous spiral coil; diameter matched to stack | Do not substitute a Wire-O element without changing the punch and closure plan. |
| Artwork margin | Final punch template plus a clear writing area | Hole shape and location determine the safe field; no universal margin is promised. |
Compare the material and its effect.
Choose the surface and construction for the way the finished product will be used. The options below are selection references, not a guaranteed inventory list.
Uncoated writing paper
90 or 100 g/m² references
Supports writing with grade-dependent opacity and hole strength.
Sample check: Test the intended pen and repeated turning.
Flexible printed cover
Card with the chosen protective finish
Keeps the notebook light but still bends around the coil.
Sample check: Check punched cover edges and rub.
Stiffer cover or divider
Selected with actual stack thickness
Adds protection or navigation while increasing coil demand.
Sample check: Include all components in the assembled sample.
Selected sample focus — Uncoated writing paper: Test the intended pen and repeated turning.
Format & usable space
Spiral Notebook Printing: Format & Configuration
148 × 210 mm
A5 design reference for a compact fold-back notebook.
This is a design reference, not a required size or a manufacturing limit.
Notebook handling
Fold-back use with a planned punch margin
Use the compact folded-back footprint for note-taking; allow the coil’s outside projection when planning bags, mailing sleeves or display pockets.
See the trim proportions.
These are publishing references, not required sizes. Compare the usable page shape before adapting an existing layout.
Selected: Portable notes. Proportions only; not actual size.
Trim dimensions describe the cut page. Artwork bleed, cover overhang, tabs and modules are separate allowances.
View the original format reference
Surface finish options
Printed covers and jackets
Choose the finish for the printed cover or jacket, not automatically for the interior. Check color, rub marks, hinges and compatibility with the cover stock. Cloth and synthetic wraps need a separate material trial.
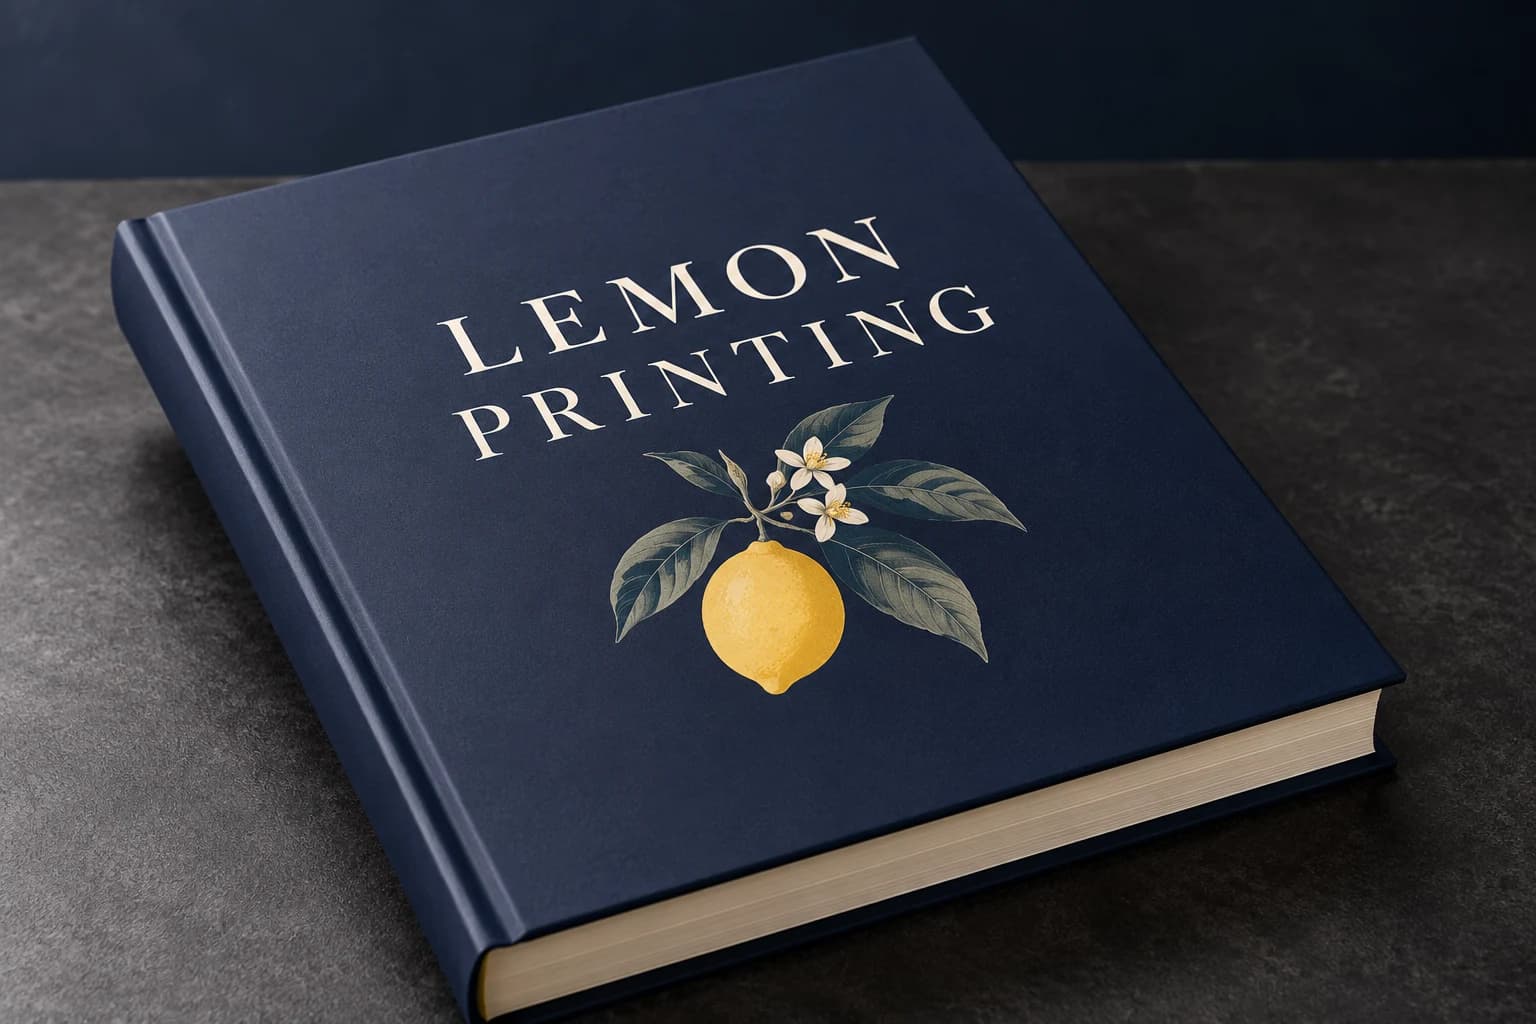 Matte lamination View effect & artwork guidance
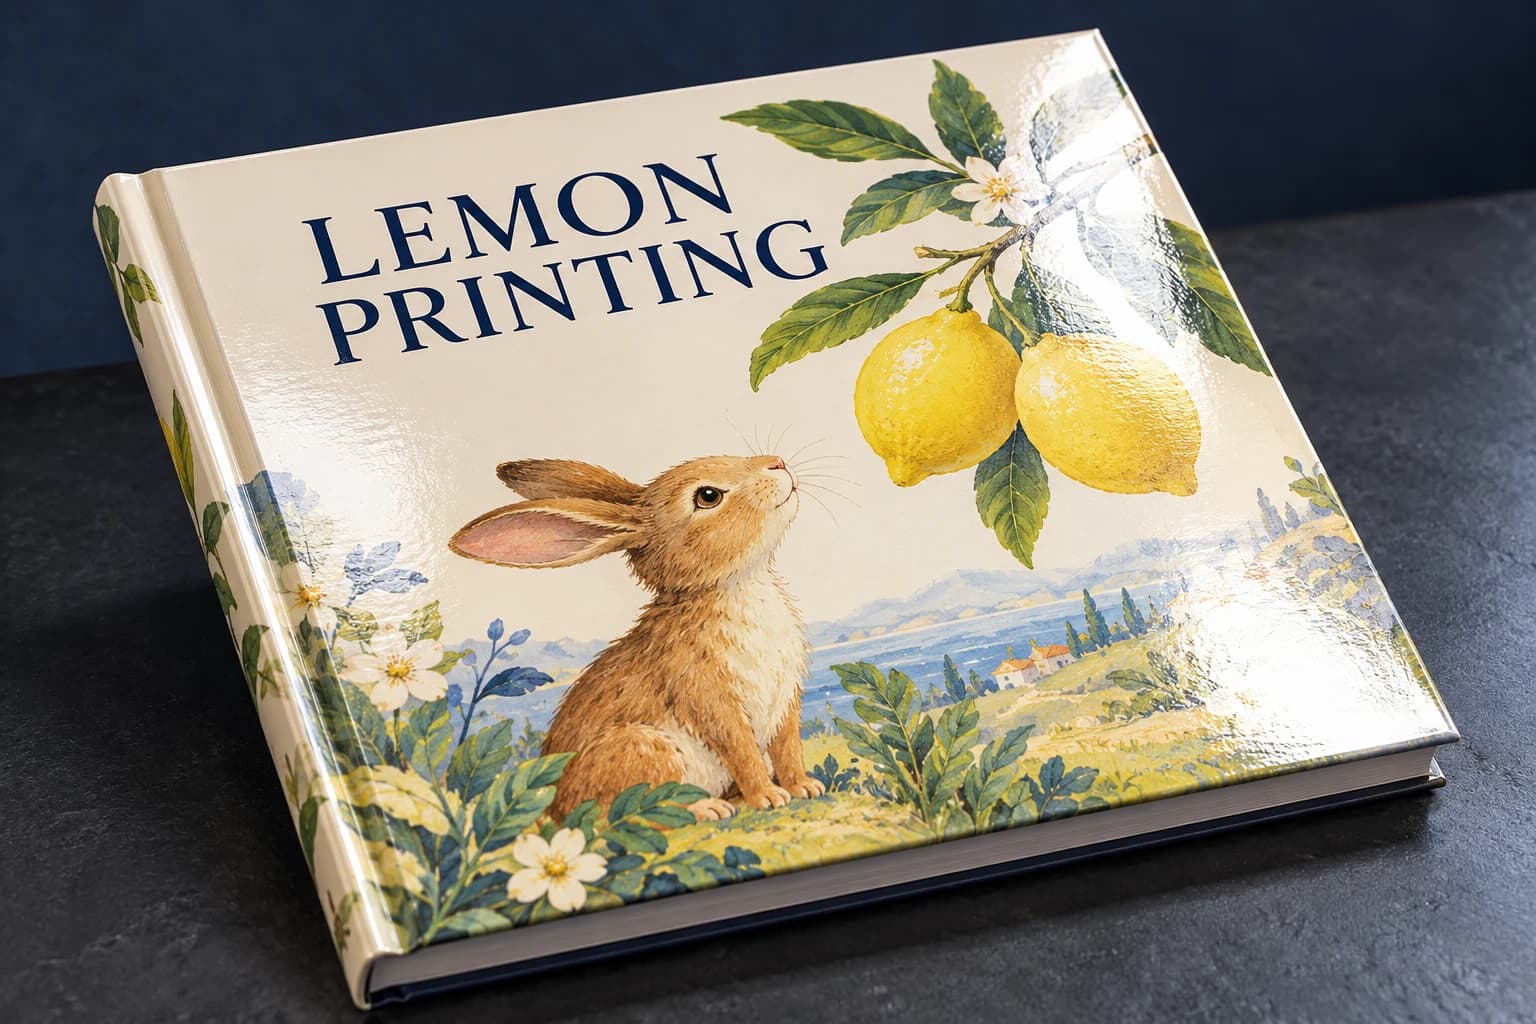 Gloss lamination View effect & artwork guidance
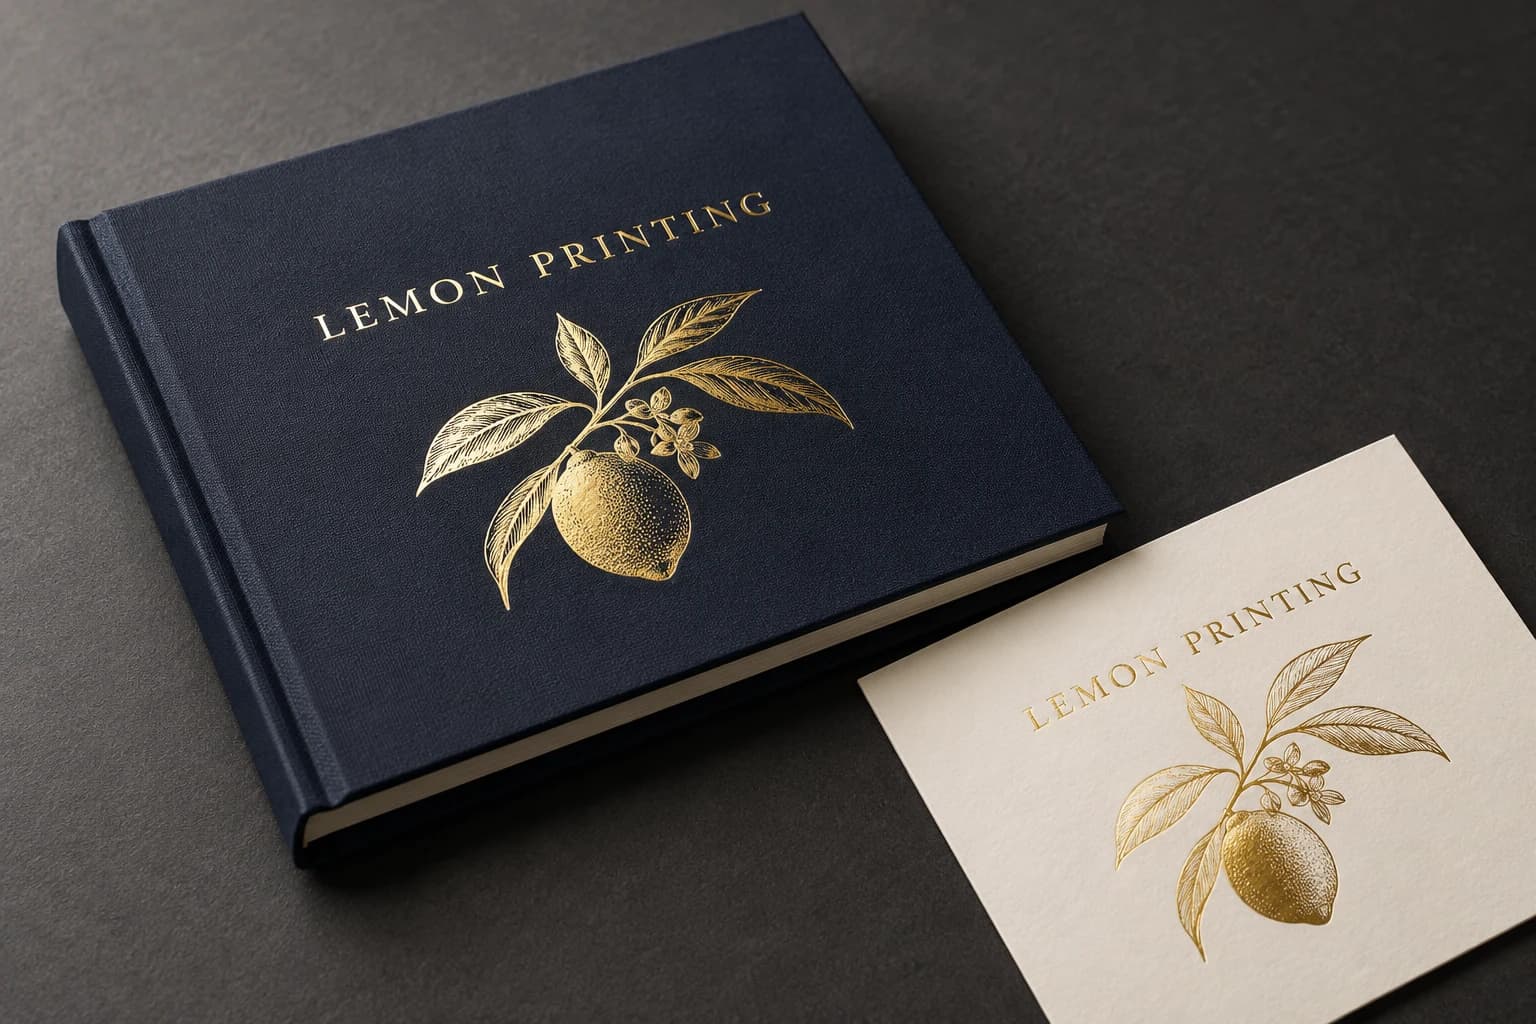 Gold foil stamping View effect & artwork guidance
 Spot UV View effect & artwork guidance
Illustrative finish samples, not photographs of this product. Final suitability follows the confirmed stock, construction and approved sample.
Compare all surface finishes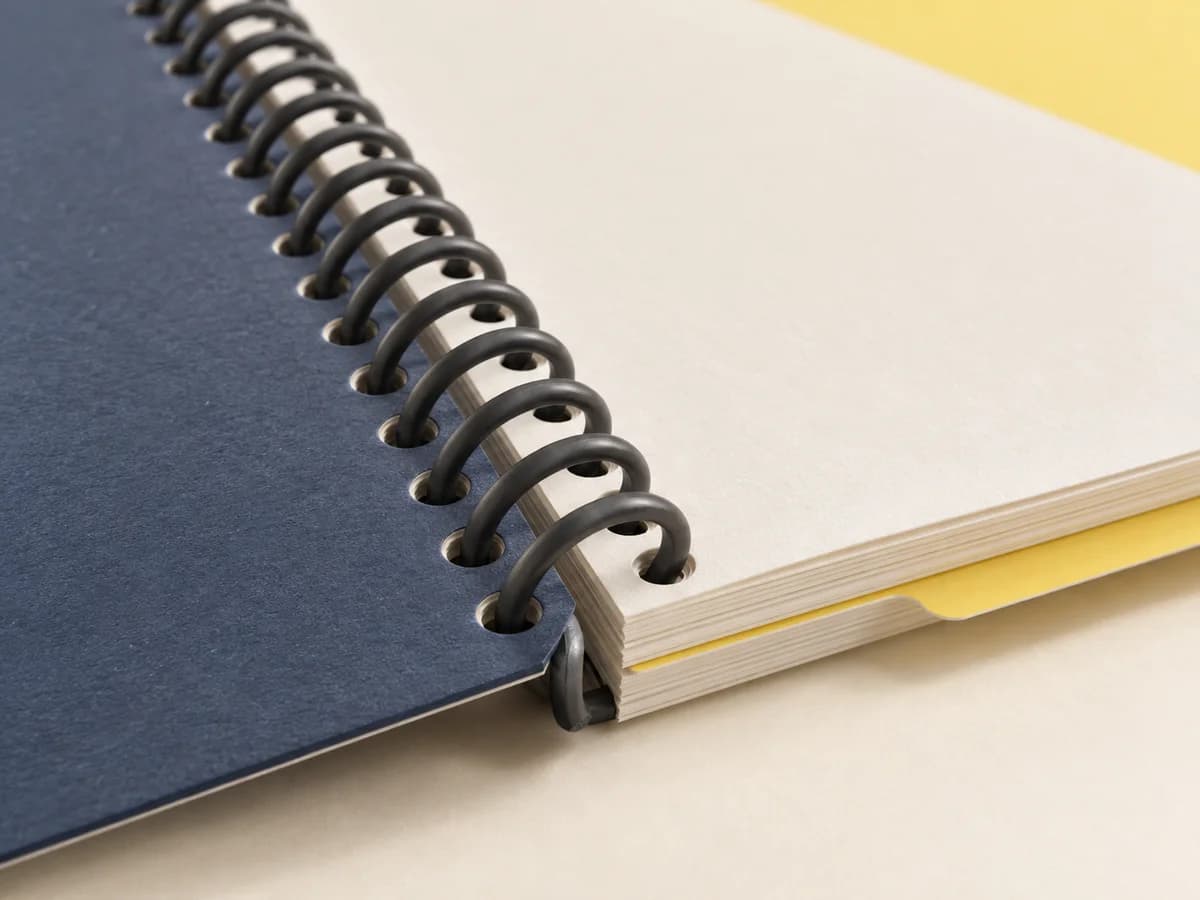
Details that change the finished product
Punching and coil clearance shape the page
Punch against the final page design
The hole line is a physical removal of paper. Keep text, page numbers and fine ruling clear, and position any perforation independently of the holes.
Match the coil to the whole stack
Covers, tabs and dividers contribute to thickness. Test page turning with all components installed rather than sizing from interior GSM.
Secure the coil ends
The ends must remain controlled during handling. Inspect the finished notebook for snagging and unthreading after repeated opening.
Spiral Notebook Printing: Uses & Configurations
Study notebooks
Fold the cover back and keep diagrams clear of the punched margin.
Field notes
A smaller working footprint helps when desk space is limited; test the cover for the actual handling.
Workshop notebooks
Dividers and custom ruling can separate activities without obscuring page turning.
Solve the risk before production
Spiral Notebook Printing: Finished-Product Checks
The critical finished-product check
Text or ruling can be cut by the binding holes. Place the ruling on the actual punch template and check a punched sample instead of applying a generic page margin.
Pages catch while turning
Why it happens: The coil clearance, pitch or punched stack is unsuitable.
Fix and check: Use compatible tooling and test the entire assembled stack.
A tear-out page damages the binding edge
Why it happens: The perforation and hole pattern compete for too little paper.
Fix and check: Design their positions together and remove a complete test leaf.
When to choose another format
Alternatives to Spiral Notebook Printing
| Alternative | Use and trade-off |
|---|---|
| Wire-O Bound Book Printing | Wire-O uses a twin-loop element and its own punching and closure system; it is not another name for continuous coil. |
| Notebook & Journal Printing | A sewn or glued notebook offers a different shelf spine and covered binding edge, with different opening behavior. |
Sample and approval
Sample & Proof Checks for Spiral Notebook Printing
Free samples are available, with preparation completed within 15 days. Confirm the sample scope; courier arrangements and transit time are separate.
Structural sample
Checks dimensions, fit and assembly using unprinted or representative materials. It does not establish final color.
Printed proof
Checks text, image reproduction and artwork on the agreed proof medium. It may not reproduce final assembly or every finish.
Complete finished sample
Turn every leaf through the coil, write beside the inner margin, test covers and tabs, and inspect both coil ends for snagging.
From brief to delivery
Order Details for Spiral Notebook Printing
Build and approve the order in five steps
Define the working notebook
State trim, binding edge, ruling and leaf count.
Include every component
List covers, dividers, perforations and coil appearance with quantity per version.
Turn and write in the sample
Test the entire stack, the punch margin and coil ends.
Approve the punch layout
Freeze ruling, perforations, tooling reference and the finished assembly.
Protect the exposed binding
Plan separation and carton packing so coils are not compressed or entangled.
- Use the actual punch template and supply the ruling at final size with the correct binding edge.
- Identify leaves, printed faces, covers, dividers and perforated pages separately.
- Supply reading-order pages with embedded fonts and agreed bleed; avoid placing text within the hole or tear-out zones.
Project questions
Planning Spiral Notebook Printing
Is spiral binding the same as Wire-O?
No. A continuous coil threads through the stack; Wire-O uses a double-loop wire element. Their punch and closure systems differ.
Can the notebook fold back?
The coil construction supports fold-back page turning. The completed stack must still have enough clearance to turn without dragging.
How much punch margin is needed?
Use the actual hole pattern and binding template. The required writing clearance depends on that pattern, the page size and the layout.
Can perforated pages be included?
Yes when the tear-out line and punched edge are designed together. Test removal and the strength of the remaining bound strip.
Specify the finished product.
Send trim, leaf count, ruling, quantity, cover construction and binding edge. Identify tear-out pages, dividers and any coil color preference.