Table of Contents
- Key wall calendar printing decisions
- Wall calendar specification comparison table
- Choose the right wall calendar construction
- Set finished size, open size, and binding edge
- Select paper for images and date grids
- Build and proof the calendar date grid
- Wall calendar production steps
- Quality problems that appear after hanging
- Custom calendar printing from Lemon Printing
- Wall calendar quote checklist
- Frequently asked questions
- Request a wall calendar printing quote
A wall calendar must hang straight, turn cleanly, and show the right dates. Learn how to specify binding, hole placement, open layouts, writable paper, proofs, and packing before placing a bulk order.
Key wall calendar printing decisions
Wall calendar printing works best when the hanging point, binding, paper, and layout are designed together. A calendar is a mechanical product as well as printed artwork: its sheets must hang level, turn without catching, and display accurate dates.
Key terms: A leaf is one sheet with two sides; a page is one side. Open size is the displayed size when the calendar is unfolded. GSM means grams per square meter, a measure of paper weight rather than thickness.
- Choose the hanging construction before finalizing artwork.
- Approve a full-size dummy to check balance and page movement.
- Verify the calendar year, every date grid, and the assembled month sequence.
Wall calendar specification comparison table
Wire-O and saddle stitching suit different display layouts. The examples below illustrate how to describe each product; they are planning examples, not fixed Lemon Printing specifications or minimum order requirements.
| Construction | Illustrative size and count | Hanging setup | Main production check |
|---|---|---|---|
| Wire-O wall calendar | 11 × 17 in monthly sheets; 13 leaves including a cover, plus separate backing if required | Top wire binding with a centered hanger | Wire diameter, hanger clearance, and page turning |
| Saddle stitch calendar | 8.5 × 11 in closed; 8.5 × 22 in open; 24 interior pages plus a 4-page cover | Stapled fold with a drilled hole opposite the fold | Panel orientation, hole alignment, and fold behavior |
| Single-sheet calendar | 18 × 24 in; one sheet | Mounting method specified separately | Readability, curl, and support across the width |
| Tear-off calendar | 8.5 × 11 in; 12 monthly sheets plus backing | Glued pad with a hanging provision in the backing | Clean sheet release and backing strength |
Choose the right wall calendar construction
Choose Wire-O for separate sheets that turn behind a top binding. Choose saddle stitching for a folded booklet that opens into an image-over-grid spread. Neither construction is universally better; compare the displayed layout, writing requirements, and hanging sample.
Wire-O binding with a calendar hanger

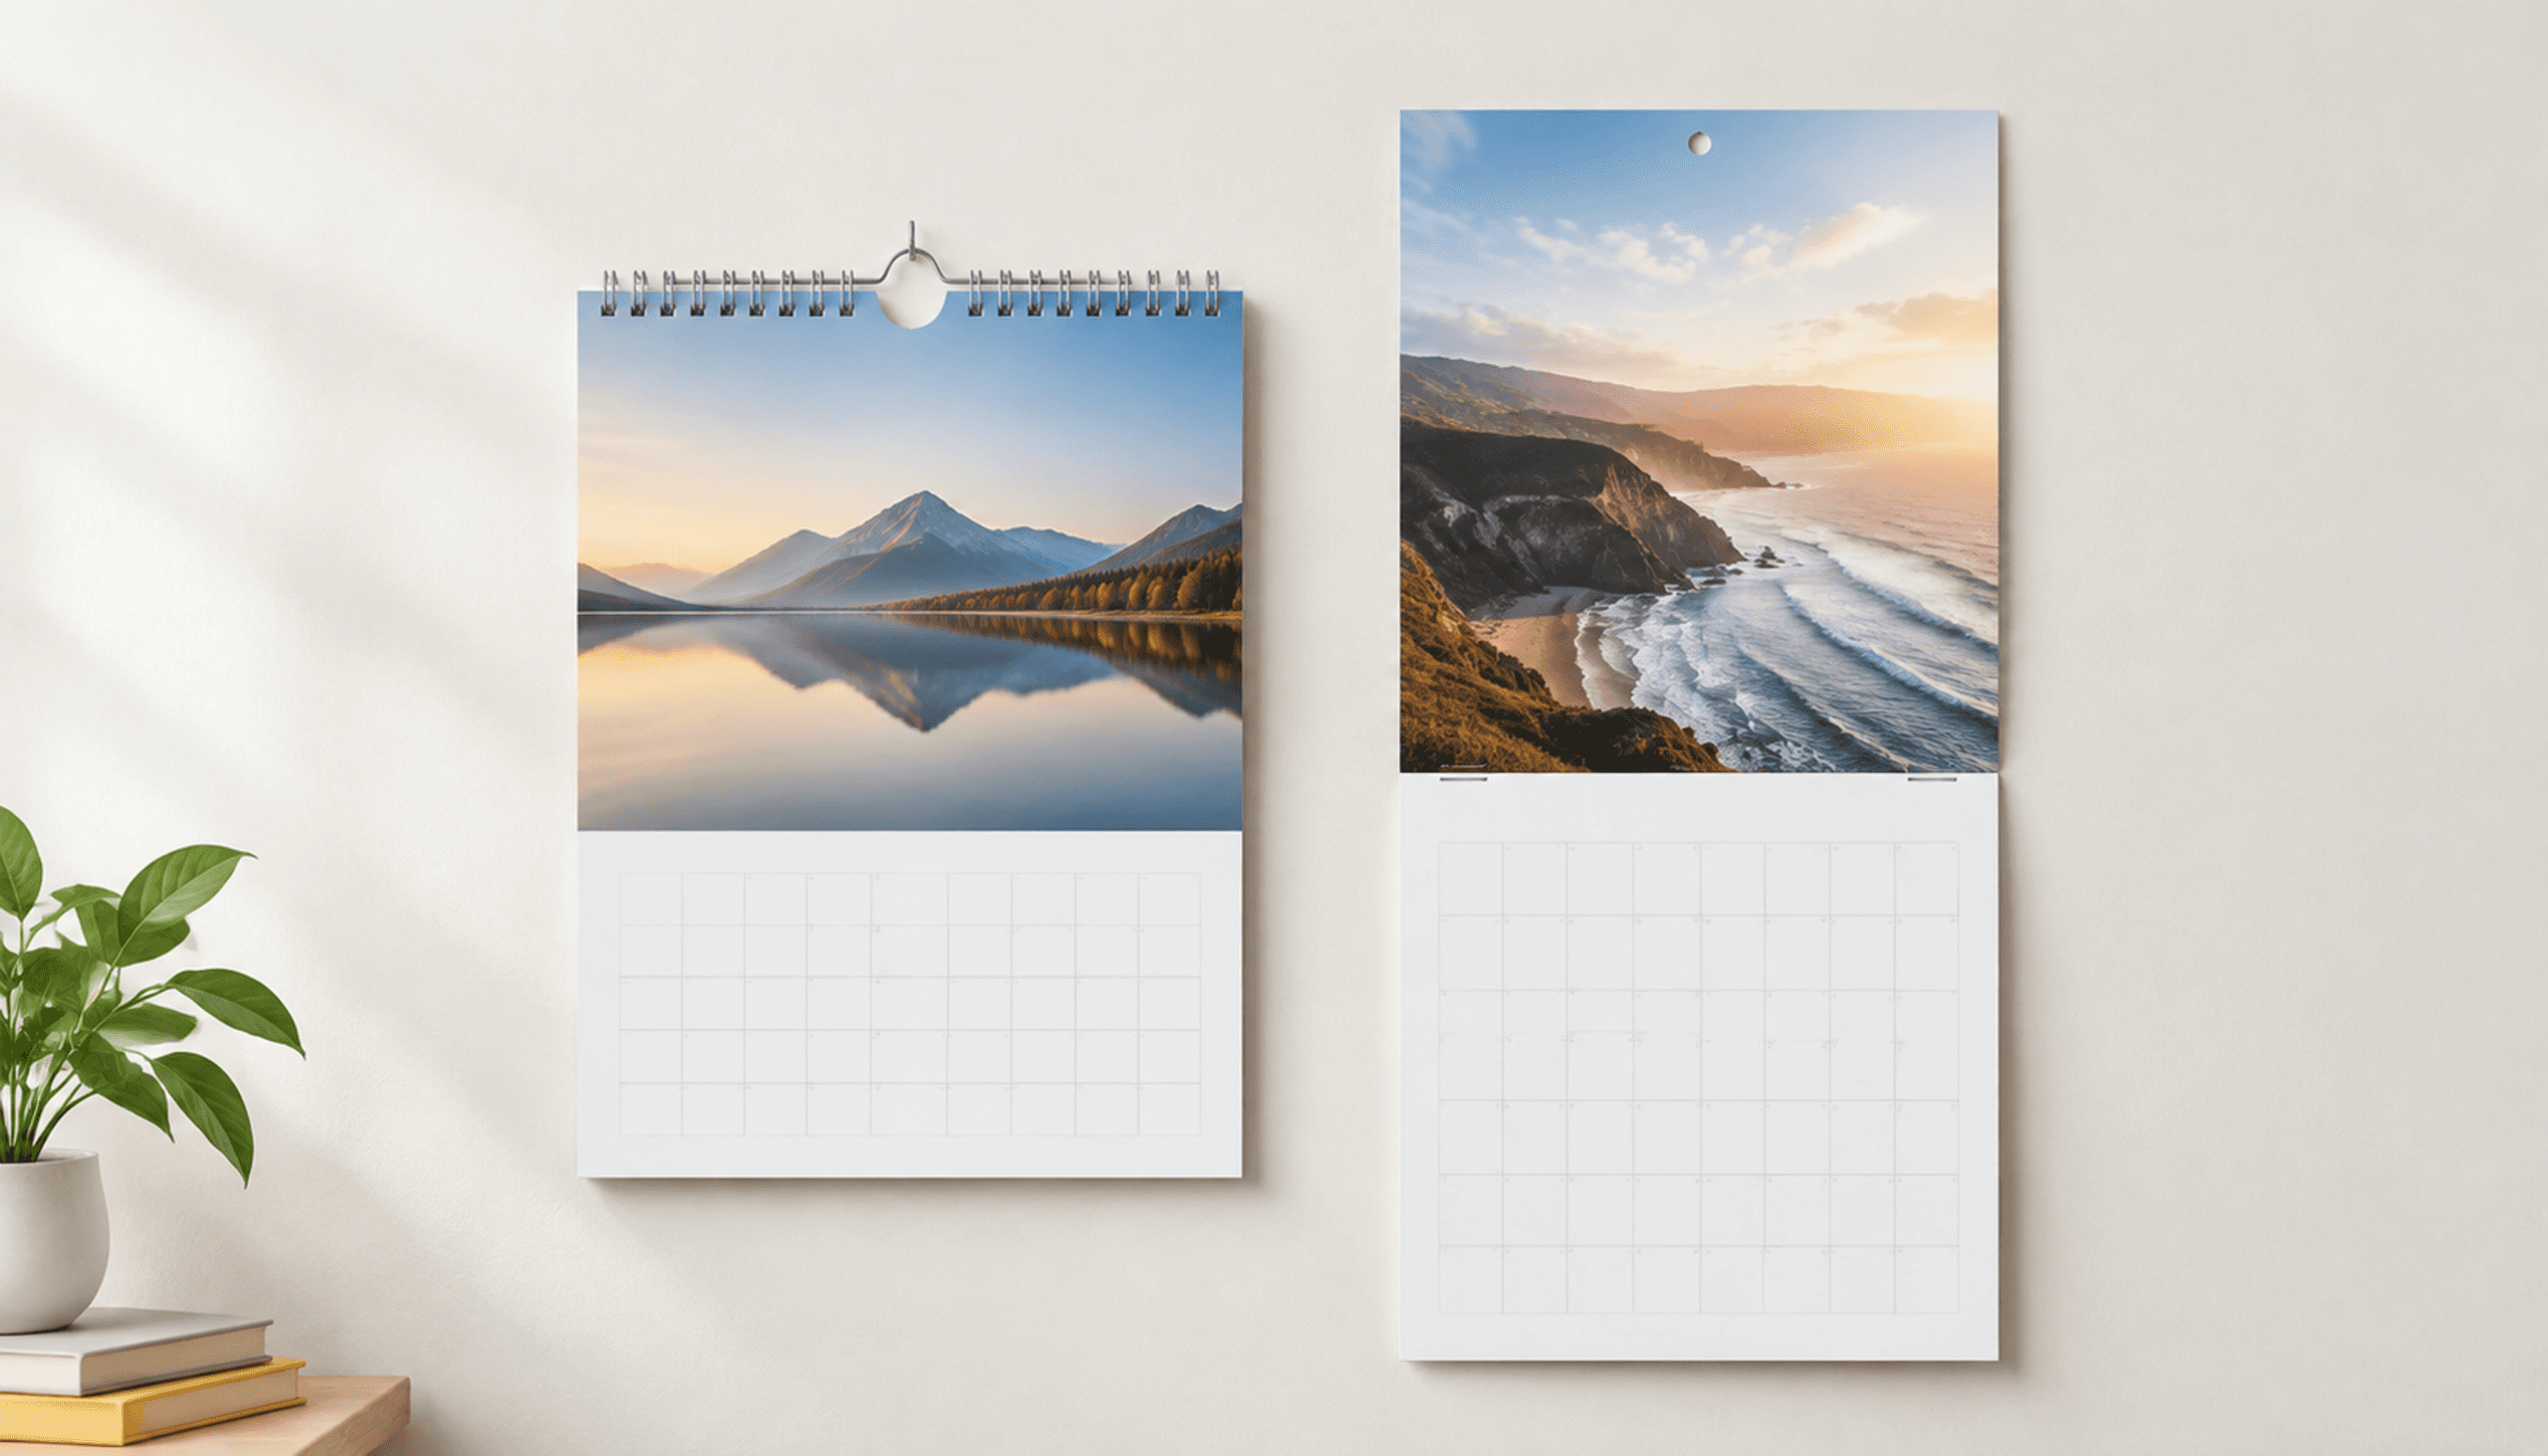
A Wire-O wall calendar uses twin-loop metal wire through punched holes. Calendar hanger binding adds a centered metal hanger; some designs need a central notch so sheets can pass around its raised loop.
Select wire diameter from the actual stack thickness, including covers and backing. A tight wire restricts turning; excessive clearance lets sheets move loosely. On the dummy, turn the cover and month sheets over the top, checking clearance around the hanger and intended wall hook as the weight shifts behind the binding.
Saddle stitching with a drilled hanging hole
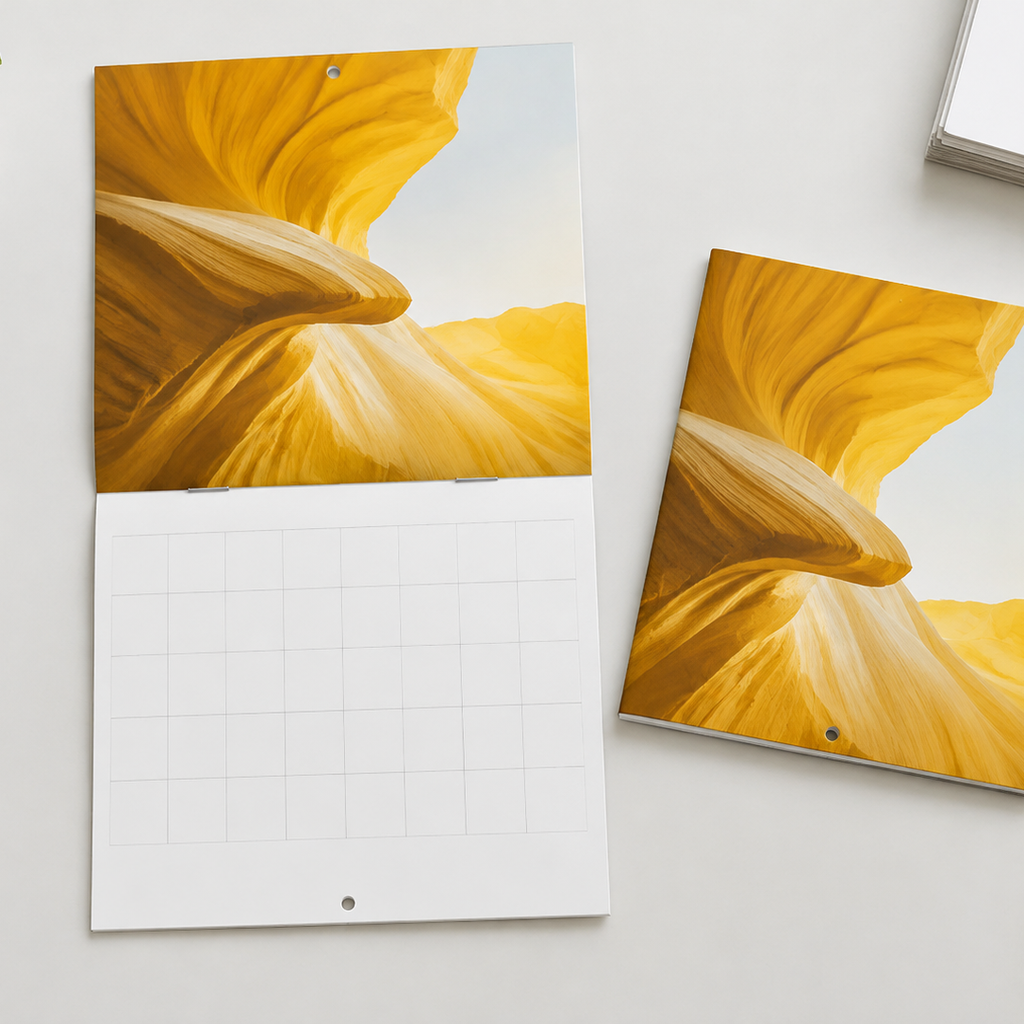
A saddle stitch calendar uses staples through the fold and commonly has a hanging hole drilled through the closed booklet near the edge opposite that fold. Opened vertically, it displays an upper image panel and a lower date-grid panel.
Because drilling passes through the closed booklet, corresponding holes can appear at both the upper and lower edges of the open spread. Reserve artwork clearance on both panels. Conventional saddle-stitched pagination uses multiples of four; identify covers and blanks separately. Check creep—the outward movement of nested sheets—when planning margins and final trimming.
Single-sheet and tear-off alternatives
A single-sheet calendar displays the whole year without moving pages. It suits reference use, provided the date type remains readable at the intended viewing distance.
A tear-off calendar removes each completed period from a glued pad. Specify the number of sheets, backing construction, hanging method, and release behavior. Test that one sheet separates cleanly without loosening the remaining pad.
Set finished size, open size, and binding edge
State dimensions as width × height and identify the binding edge explicitly. For a saddle-stitched calendar measuring 8.5 × 11 inches closed, a vertical opening produces an 8.5 × 22-inch display.
For a top-bound Wire-O format, state the trimmed sheet size and the overall hanging height separately if hardware projects above it. Mark the top edge on the layout drawing.
Allow space for loops, hangers, and drill holes
Use the printer’s approved punch-and-hanger template to set clearance. There is no universal safe margin for a calendar hanger or calendar drill hole: hole diameter, center position, notch shape, and page movement all matter.
For a layout example, a 5 mm hole centered 10 mm from the trimmed edge reaches 12.5 mm into the sheet. Adding a 3 mm artwork gap puts live content at least 15.5 mm from that edge. This example does not establish structural strength. Confirm the paper remaining between the hole and edge, positional tolerance, and any reinforcement on a full-weight sample.
Keep live artwork clear of trim and binding zones
Extend backgrounds into bleed, but keep dates, logos, faces, and other essential content outside trim and hardware zones. Bleed is artwork extending beyond the cut line to prevent white edges.
Common bleed instructions use 3 mm or 0.125 inch; follow the agreed template. A normal trim safety margin does not replace the larger clearance needed for punching or drilling. Place manufacturing guides on a separate, nonprinting layer.
Select paper for images and date grids
Choose uncoated paper when dependable handwriting is the priority. Coated paper generally gives photographs greater contrast and detail, but its writing performance depends on the surface and pen. Test the actual stock and finish before approving a combined image-and-grid design.
Coated paper for photography
Gloss-coated paper emphasizes image contrast but can reflect room lighting. Silk or matte-coated paper reduces glare, although appearance varies by stock.
A planning range such as 130–170 gsm may suit some monthly sheets; it is not a universal specification. Compare printed samples for shadow detail, show-through, and stiffness at the proposed size.
Writable areas for notes and appointments
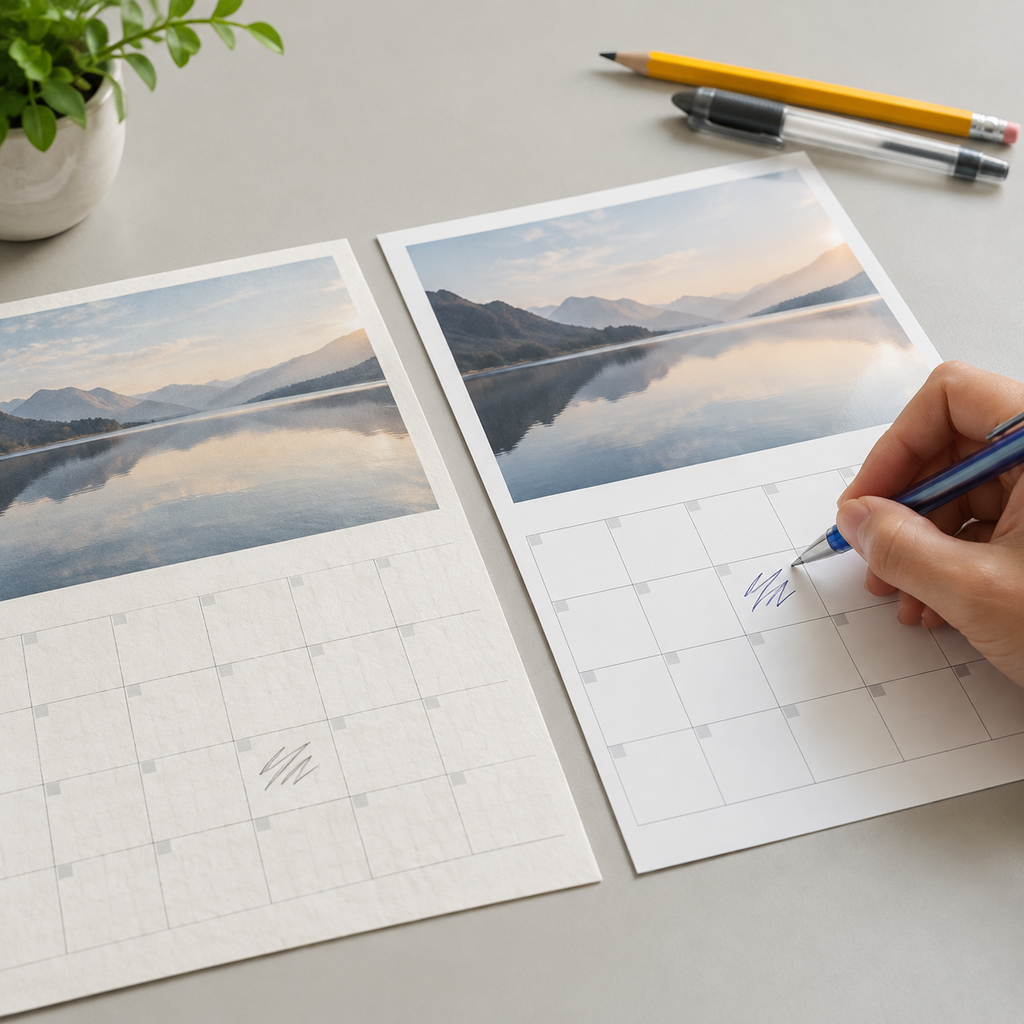
Uncoated stock is usually the safer starting point for handwritten appointments. If photography and notes share one sheet, compare it with a matte-coated sample using the intended ballpoint, gel pen, or pencil.
Check drying, smearing, and show-through after writing. Leaving a grid free of added varnish does not remove the paper’s original coating. Avoid assuming that an unvarnished coated surface is writable, and keep lamination off note areas unless writing tests support the intended use.
Paper weight and hanging behavior
Heavier paper can improve stiffness but also increases the load on the hanging point. GSM alone cannot predict behavior; caliper, meaning thickness, affects wire capacity and folded bulk.
For saddle stitching, discuss grain direction parallel to the fold and whether heavier covers need scoring. Grain is the predominant direction of paper fibers. Check large sheets for curl after conditioning and hanging, especially when finishes differ between sides.
Build and proof the calendar date grid
Proof dates separately from artwork, then verify their placement in the assembled calendar. A technically printable file can still contain a wrong weekday, missing date, or mismatched month image. Assign one named buyer-side approver for calendar content.
US date formats, holidays, and week starts
Specify the week start, date format, language, and holiday list for the intended market. Sunday-first grids are common in US consumer calendars, but organizations may prefer Monday-first layouts.
Spell out dates where numeric formats could confuse international readers. Distinguish a holiday’s actual date from its observed closure date. Confirm federal, state, religious, and company-specific entries with the buyer rather than adding them automatically.
Cross-check every month before approval
Check all twelve months against an independently verified date source for the specified year. Reusing last year’s grid without a full audit is a common way to introduce errors.
- Confirm the year on the cover and every relevant page.
- Check each month’s first weekday and total number of days, including February.
- Scan every row for missing or duplicated dates and misplaced overflow dates.
- Verify holidays, observances, and any week-number convention.
- Read a full-size printout for type size, contrast, and usable writing space.
Record the approved file version so later image corrections do not overwrite verified grids.
Use a final imposed proof for page sequence
Approve the production imposition and an assembled or folded dummy to verify month sequence and orientation. Imposition is the arrangement of pages on press sheets so they become correctly ordered after folding, cutting, and binding.
Supply individual pages in reading order unless the printer requests another format. For saddle stitching, inspect every hanging spread for the correct upper image, lower grid, and rotation. For Wire-O, confirm front-to-back month order, duplex pairings, blanks, and the appearance of sheets turned behind the binding.
Wall calendar production steps
US buyers should begin bulk calendar printing planning as soon as the year, likely quantity, and destination are known, before final artwork is locked. Work backward from the required warehouse arrival through domestic distribution, customs, freight, production, and approvals.
For a January launch, use the distributor’s earlier receiving deadline. Check seasonal capacity and factory holiday closures against the actual schedule. Lemon Printing’s commercial printing process provides a framework for discussing these production stages.
- Confirm specifications and a structural dummy.
- Complete preflight and approve proofs.
- Print, finish, and assemble.
- Inspect hanging performance and packing before shipment.
Preflight, proofing, and color approval
Preflight checks whether files meet production requirements; it does not replace buyer approval of dates or holidays. Confirm dimensions, bleed, embedded fonts, image resolution at final size, color settings, and hardware clearance.
Use a content proof for text and sequence, a suitable color proof for critical photographs, and a structural dummy for hanging mechanics. Ask what each proof represents: a digital print may differ from the production stock or press result. Record approved color references and material samples.
Printing, binding, hanging tests, and packing
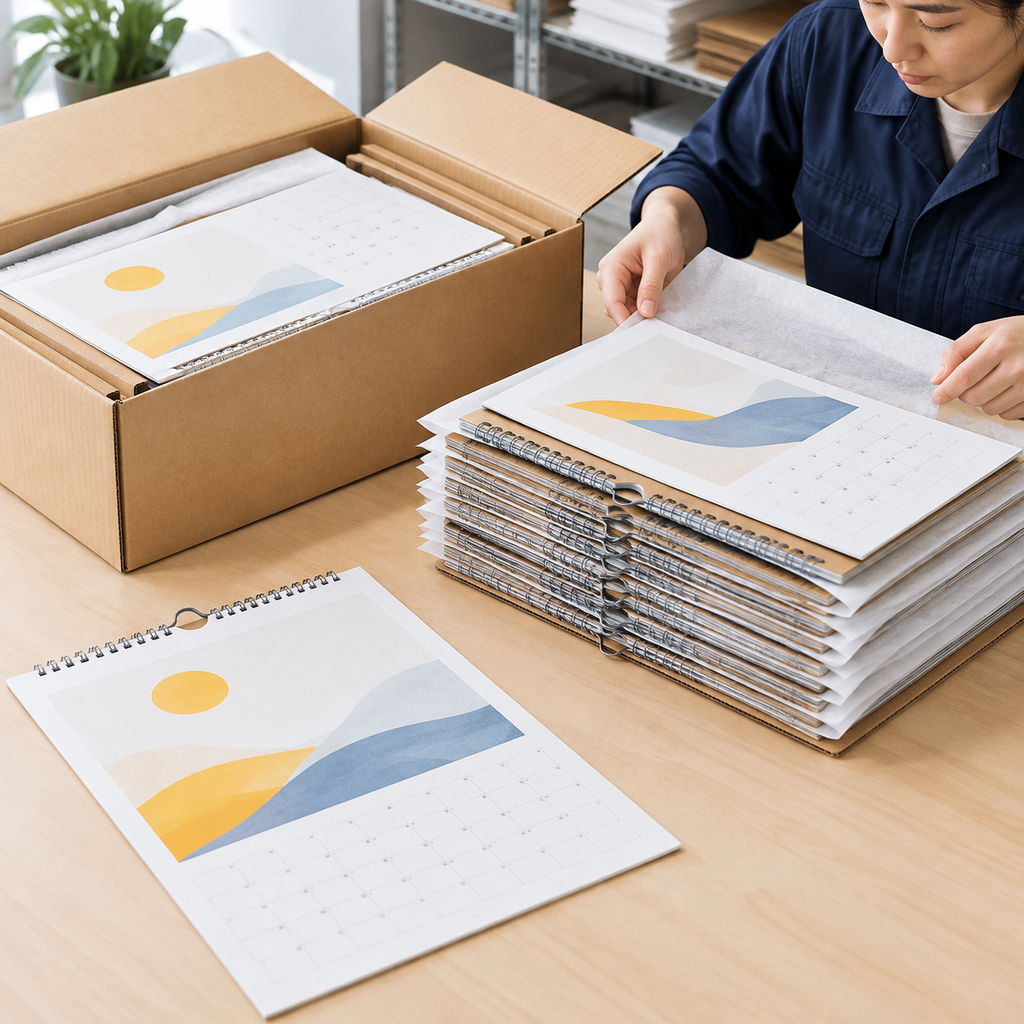
Inspect finished calendars after assembly, when wire closure, drilling, folds, and total weight can be assessed together. Measure hole and punch positions against agreed tolerances in millimeters.
Check wire alignment, staple security, clean holes, and page turning through the first, middle, and final months. Lemon Printing describes its four-stage quality control as covering prepress, on-press monitoring, post-press inspection, and packing verification.
Specify packed orientation and support so carton pressure does not bend exposed wire or hangers. Protect corners and printed surfaces, and review a packed sample for the chosen freight method. Seasonal storage also requires suitable protection from moisture and handling damage.
Quality problems that appear after hanging
A calendar can look correct on a table and develop problems under its own weight. Hang a full-weight finished sample and repeat page turns before approving the construction.
- Tilt: Check whether the hanging point is centered and the sheets sit evenly.
- Hole elongation or tearing: Review the paper bridge between hole and edge, drilling quality, and total load.
- Snagging: Inspect wire closure, notch clearance, and interference with the wall hook.
- Curl or lifted corners: Review stock, grain, moisture conditioning, and finishes on each side.
- Fold cracking: Check grain direction, cover thickness, and scoring requirements.
- Smudged notes: Repeat writing tests on the finished surface.
Define acceptance criteria for these checks before production; “hangs well” is too vague for a repeat order.
Custom calendar printing from Lemon Printing
Lemon Printing’s custom calendar printing options include wall and tear-off formats, with Wire-O or saddle-stitch binding options. Confirm the hanger, drilling, writable surface, and packaging requirements during specification review.
According to Lemon Printing, its self-owned printing factory in the Guangzhou–Shenzhen manufacturing corridor has more than 130 workers and eight or more offset and digital presses. Established in 2015, the company handles prepress, printing, binding, finishing, inspection, packing, and export preparation in-house.
Final MOQ, production time, pricing, and shipping depend on product specifications, quantity, finishing, and destination.
Wall calendar quote checklist
Comparable quotes require the same calendar printing specifications, especially page counts, hanging hardware, and packing. Send a dimensioned sketch with the following details.
- Product and quantity: Construction, calendar year, language, total copies, and quantities per artwork version.
- Dimensions: Finished width × height, open display size, and binding edge.
- Pagination: Leaves or pages, printed sides, cover count, blanks, and backing.
- Materials: Paper type and GSM, cover or backing specification, coatings, and handwriting requirements.
- Mechanics: Binding, hanger, hole diameter and center position, notch, and tolerances to confirm.
- Printing and approval: Color requirements, file status, proof types, and approved reference samples.
- Packing and delivery: Individual protection, carton quantities, packed orientation, destination postal code, freight preference, and required arrival date.
Frequently asked questions
These answers summarize the construction, artwork, paper, proofing, and scheduling decisions buyers should confirm before approving a wall calendar order.
Request a wall calendar printing quote
Before production approval:
- Test the hanging point and page movement on a full-weight dummy.
- Verify every date and every assembled spread.
- Agree on writable surfaces, tolerances, and protective packing.
Lock these details into the specification before signing off the print run. They determine how the calendar behaves after it leaves the carton.
FAQ
Is Wire-O or saddle stitch better for wall calendar printing?
Wire-O suits separate sheets that turn behind a top binding. Saddle stitching suits a folded image-over-grid spread and a compact closed format. Choose by display layout, page count, and hanging performance, then approve a full-size dummy with the specified paper and hardware.
How much space should artwork leave for a calendar hanger or drill hole?
Use the approved manufacturing template. Clearance depends on hole diameter, center distance from trim, punch pattern, notch, and hanger movement. Keep live artwork beyond the hardware area plus the agreed safety gap; ordinary bleed and trim margins alone are insufficient.
What paper works for both calendar photography and writable date grids?
Uncoated stock is generally the safer choice for handwriting, with a trade-off in photographic contrast. Matte or silk-coated stock may suit some pens, but test the actual printed and finished sample. Leaving off added varnish does not make coated paper uncoated.
How are wall calendar dates and page sequences proofed?
Check every month against independently verified date data for the correct year, including weekdays, February, holidays, and overflow dates. Then review the production imposition and an assembled dummy for month order, image-grid pairing, rotation, blanks, and duplex printing. Approve one identified final file version.
When should a US buyer begin planning a bulk wall calendar order?
Begin when the calendar year, likely quantity, and destination are known, before finalizing artwork. Work backward from the required US warehouse arrival, allowing for approvals, production, freight, customs, and distribution. Confirm seasonal capacity and factory closures; there is no universal lead time for all specifications and destinations.
Get a Clear Quote for Your Printing Project
Send Lemon Printing your calendar type, quantity, finished and open sizes, page or leaf count, paper, binding, hanging hardware, finishing requirements, delivery destination, and target arrival date. Attach your PDF for a free prepress file check.
Our team will review the specifications and normally respond within one business day with practical production options, pricing, and a project timeline.