Paper Bag Printing · Formats & construction
Custom Die Cut Paper Bags
Carry retail purchases and event packs with a handle cut directly into the paper panels. Match the opening, reinforcement and base to the packed product, with custom printing on brown or white paper.
- Integrated rounded opening with project-specific paper reinforcement
Start with the intended use, finished size and quantity. The material and construction can follow.
The product in use
An integrated handle with a clean paper silhouette
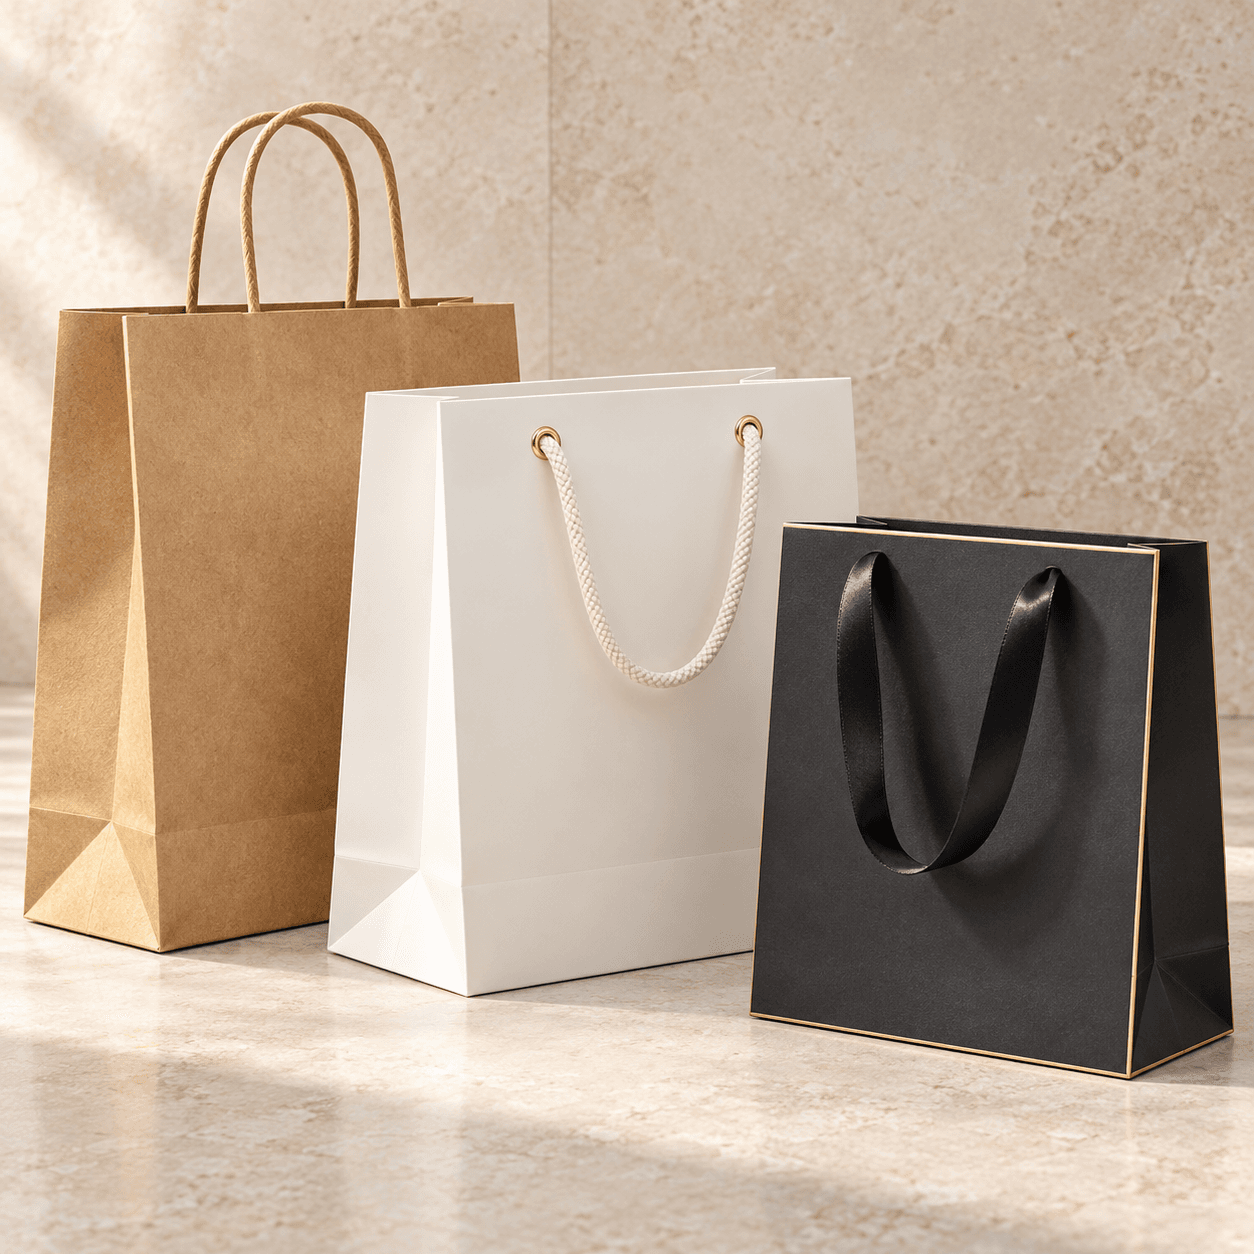
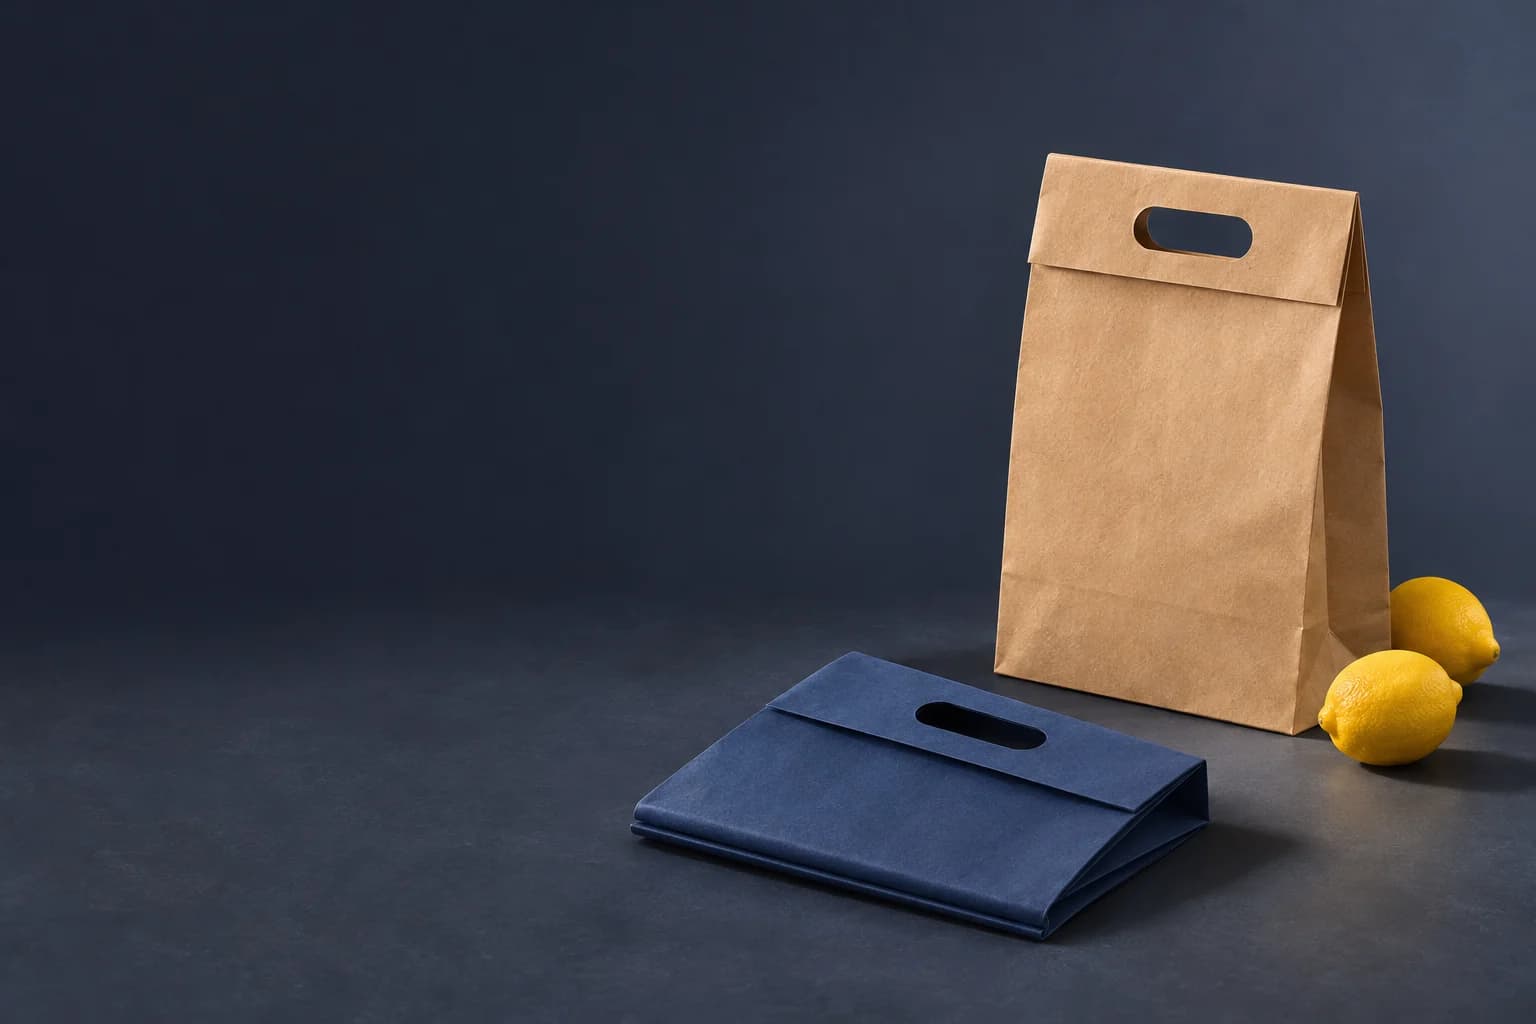
A die-cut paper bag replaces attached cords or loops with a carrying opening in the upper panels. Bringing the front and back openings together creates the grip; side gussets and a flat base provide room for the contents below. The compact handle profile suits counter sales, promotional packs and small retail orders. The opening takes space out of the upper panel, so overall bag height is not the same as usable loading height. Paper strength and reinforcement around the cut edge matter as much as the appearance of the front panel.
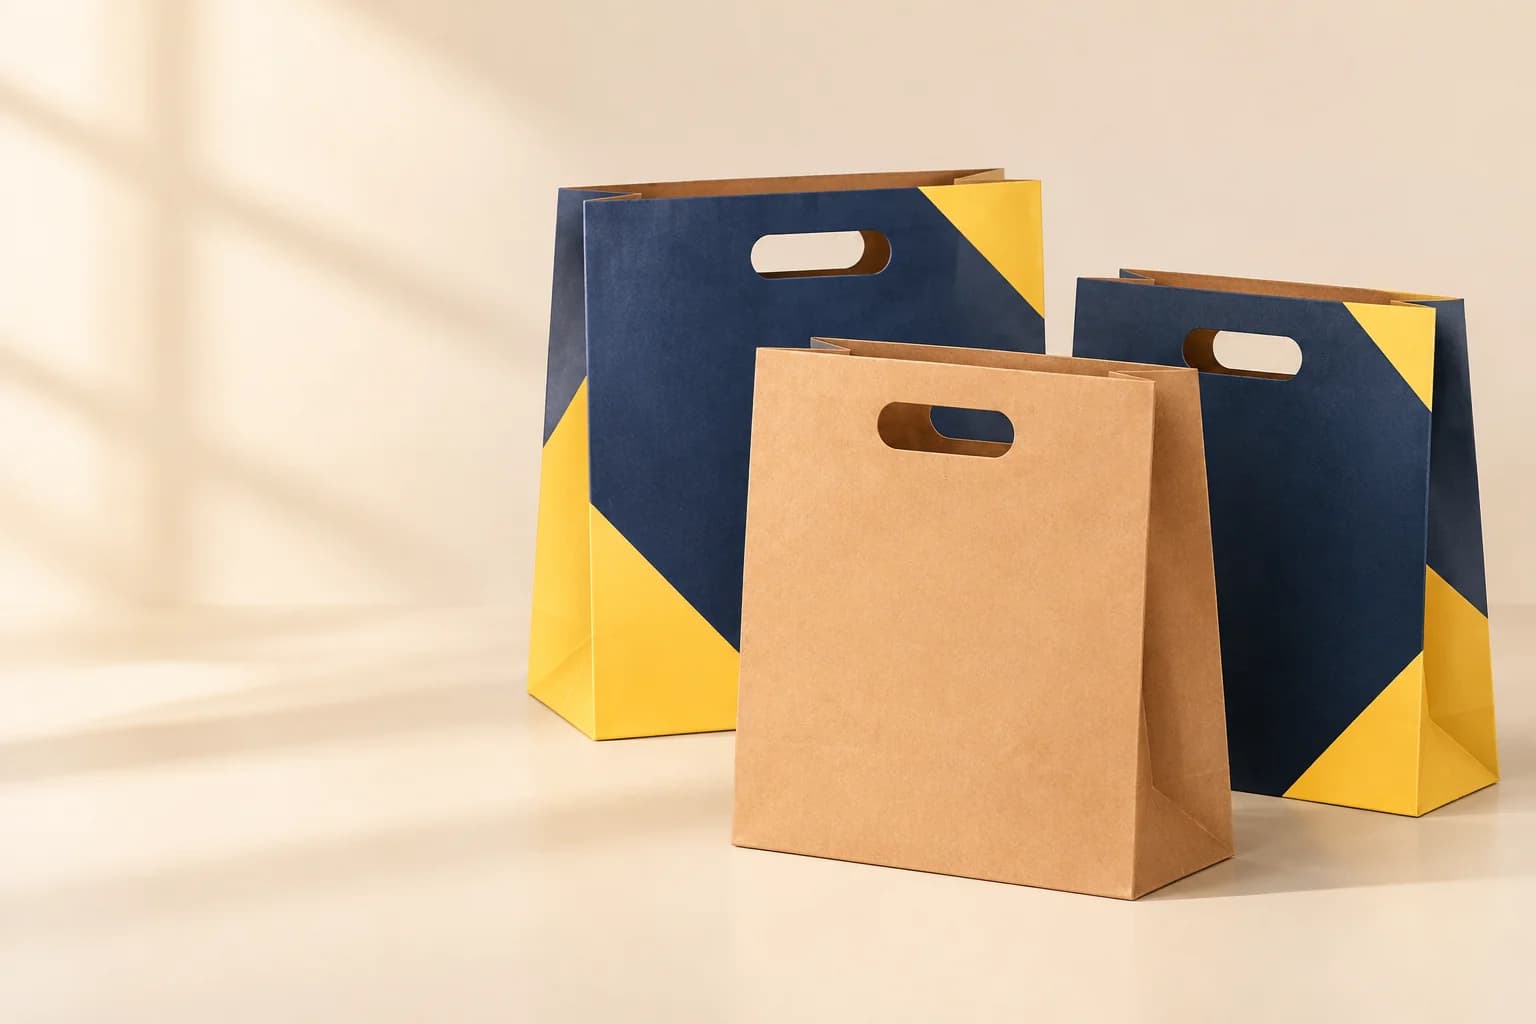
What makes up the finished product?
- Handle opening
- Creates the grip and removes part of the upper panel; smooth edges and panel alignment affect comfort.
- Reinforcement
- Adds material around the opening and spreads carrying forces through bonded paper.
- Gusseted base
- Sets the footprint and supports the packed contents while the upper panels are brought together.
Specifications and materials
Custom Die Cut Paper Bags specifications
Use these reference options to build the project brief. Dimensions are design examples; material availability, tooling and production timing depend on the confirmed specification.
| Parameter | Reference or option | Why it matters |
|---|---|---|
| Bag dimensions | Width × gusset depth × total height in mm | Specify usable loading height separately. Keep the packed contents below the handle grip. |
| Size references | 240 × 120 × 350 mm; 270 × 100 × 280 mm | Examples converted to width × gusset × height from a published manufacturer range, not Lemon size limits. |
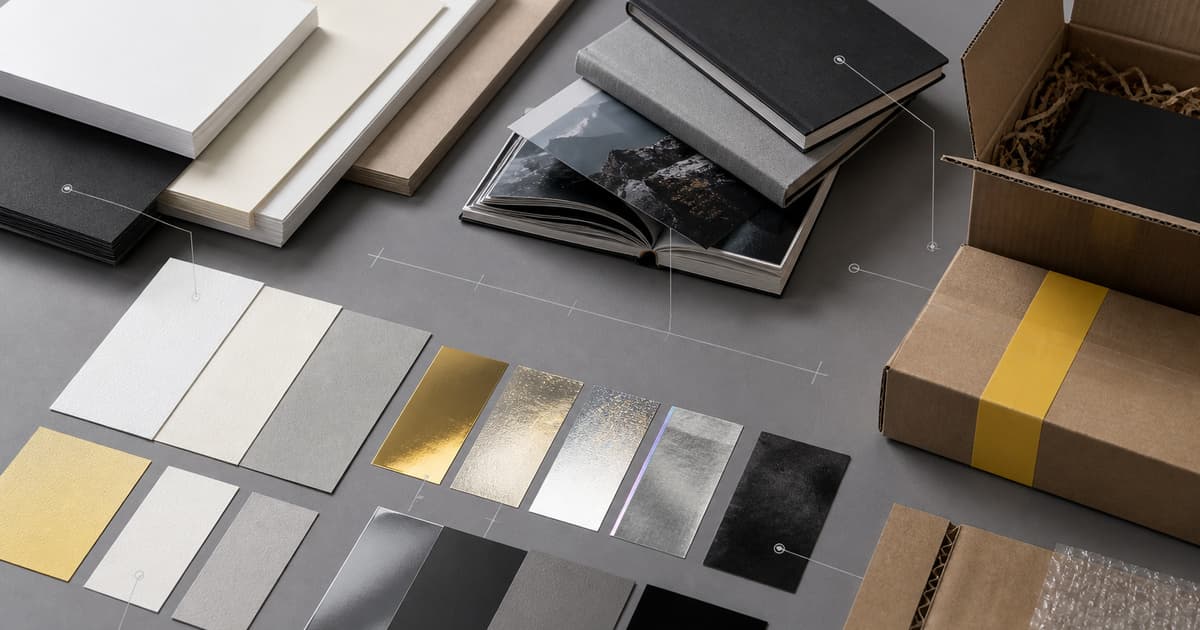
| Paper options | Brown kraft, white kraft or coated paper | Select grade and reinforcement together. A heavier sheet alone does not establish a safe carrying load. |
| Paper-weight references | 110–120 gsm white kraft; 120 gsm brown kraft; 170–200 gsm art paper | Published examples from different constructions, not interchangeable grades or a guaranteed factory range. |
| Handle and reinforcement | Rounded oval opening; paper patch, strip or folded-top reinforcement as specified | Review cut-edge quality, remaining material around the opening, grip clearance and reinforcement bonding. |
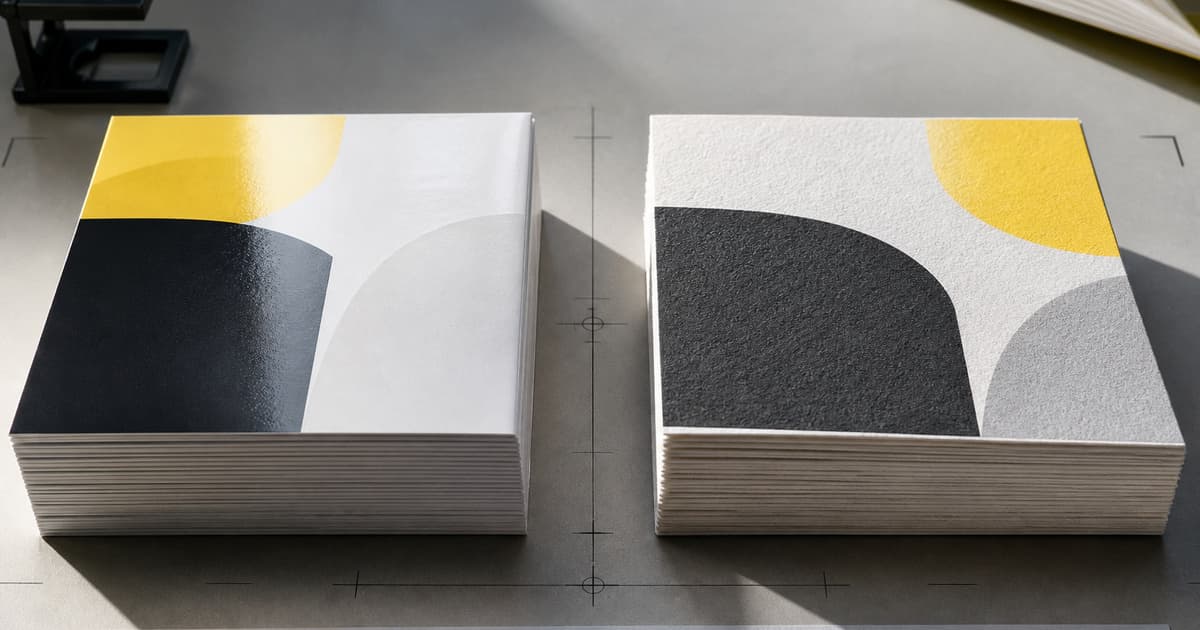
| Printing | Single-color branding, multi-color artwork or full-color panels | Compare on the selected paper. Brown kraft affects the appearance of printed colors; avoid critical detail across the opening. |
| Load verification | Complete filled-bag carrying test | Use the intended contents, load distribution and exposure. No universal weight rating follows from dimensions or GSM. |
Format & usable space
Match the base, loading height and grip
240 × 120 × 350 mm (width × gusset × height)
A published market-size reference, not a manufacturing limit. Size the usable space below the handle around the actual packed contents.
This is a design reference, not a required size or a manufacturing limit.
Handle construction
Integrated rounded opening with project-specific paper reinforcement
Select grip, usable height and load performance together using a complete filled sample.
View the original format reference
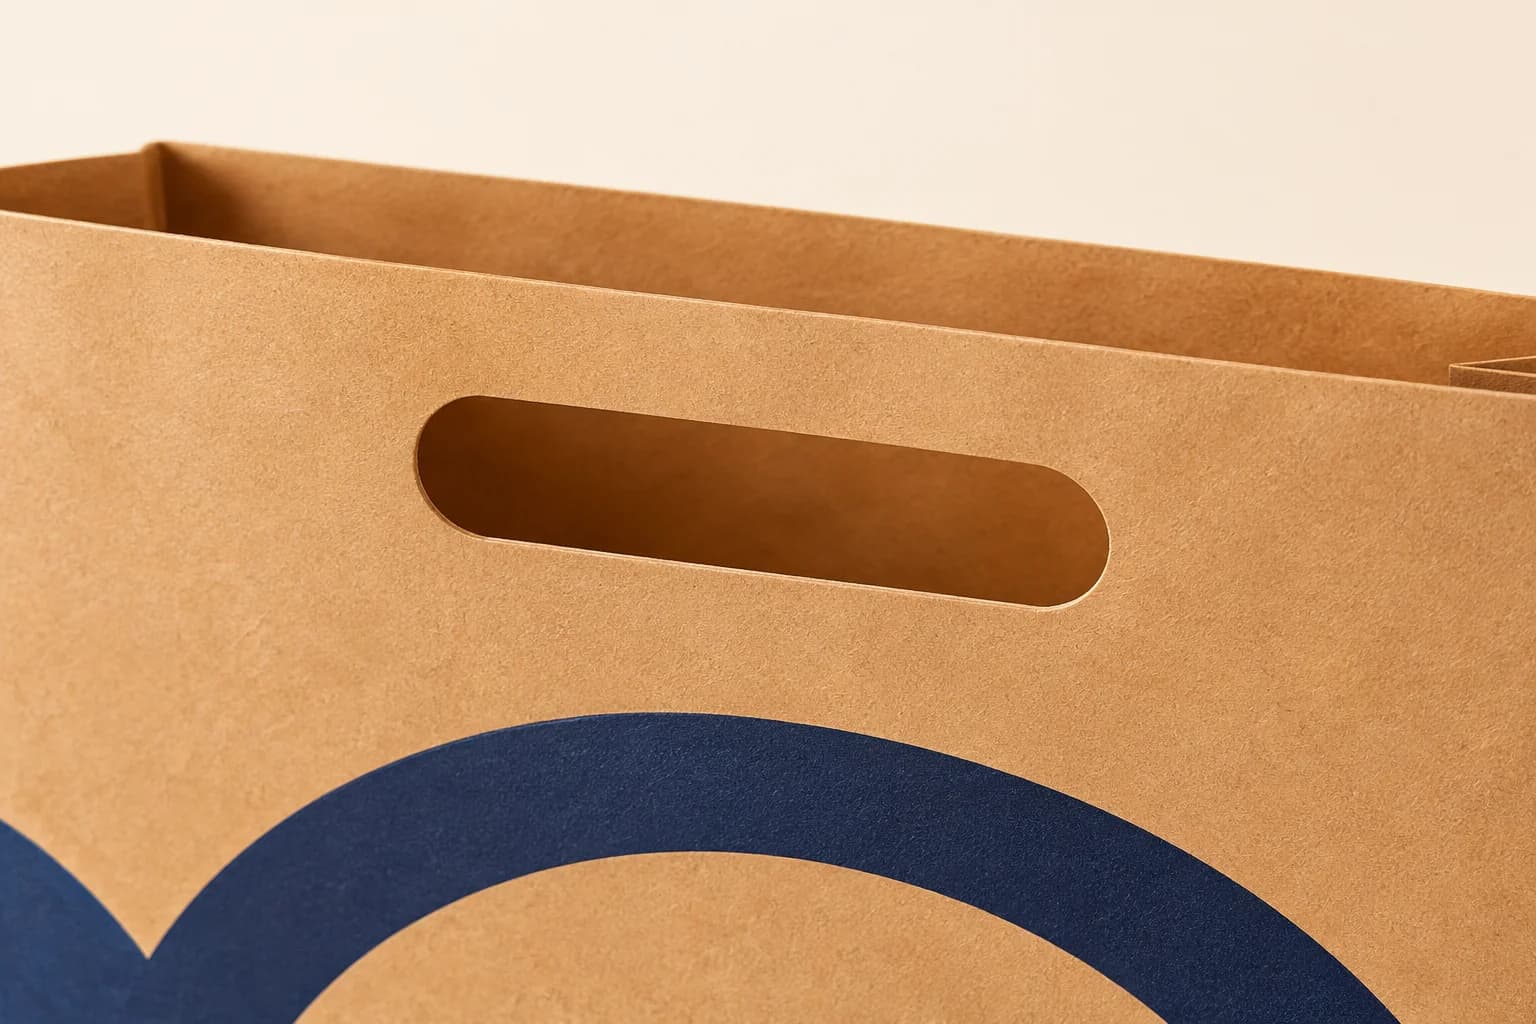
Details that change the finished product
Handle cut, reinforcement and panel alignment
Cut a comfortable grip
A rounded handle avoids abrupt internal corners and gives fingers a smoother contact edge. Keep the front and back openings aligned so one panel does not take the load first. Inspect for ragged cuts, small tears and a grip that pinches when the bag is full.
Spread the force around the opening
A paper patch, internal strip or folded top can add material around the handle. Its shape, bonding and position must work with the opening; a patch that lifts at its edge cannot distribute force as intended. Review the actual construction on a filled sample.
Keep the print and folds coordinated
The handle removes part of the printed panel. Position logos and required information clear of the cut, top fold and side seam. Check color and surface rubbing on the selected substrate after the bag has been folded and handled.
Retail purchases, event packs and container carry-out
Retail counter purchases
A compact paper grip suits small boxed goods and accessories. Keep rigid edges from pressing against the handle zone and evaluate the complete purchase load.
Event and promotional packs
Match the base to the assembled pack, not the largest item alone. Leaflets, gifts and boxed items can shift and change how the load reaches the handle.
Food-container carry-out
Keep containers upright on a suitable base and reserve grip clearance above the lids. For food exposure, define direct or indirect contact, grease, moisture, temperature and destination requirements before material selection.
Solve the risk before production
Prevent handle tears and uncomfortable carrying
The critical finished-product check
Tears often start at the ends of the handle opening, where carrying forces concentrate. Sharp cut transitions, insufficient paper around the opening or poorly bonded reinforcement can make the problem worse. Use rounded transitions and an agreed reinforcement construction, then inspect the cut edge and test the filled bag under the intended carrying conditions.
Sample and approval
Test the grip with the contents in place
Free samples are available, with preparation completed within 15 days. Confirm the sample scope; courier arrangements and transit time are separate.
Structural sample
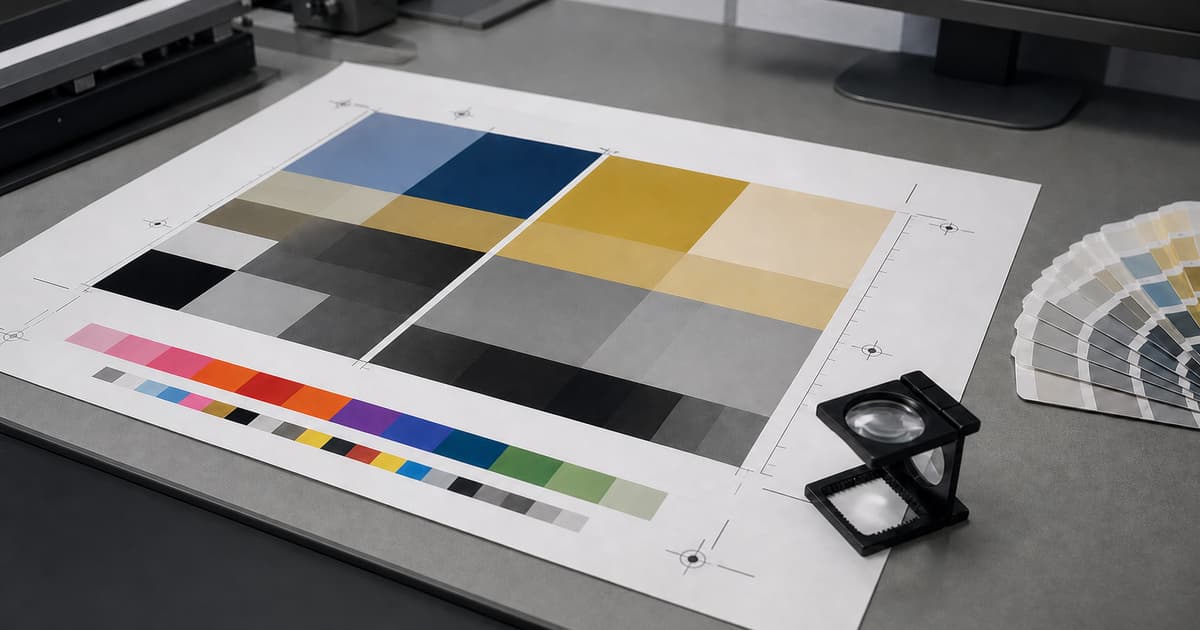
Checks dimensions, fit and assembly using unprinted or representative materials. It does not establish final color.
Printed proof
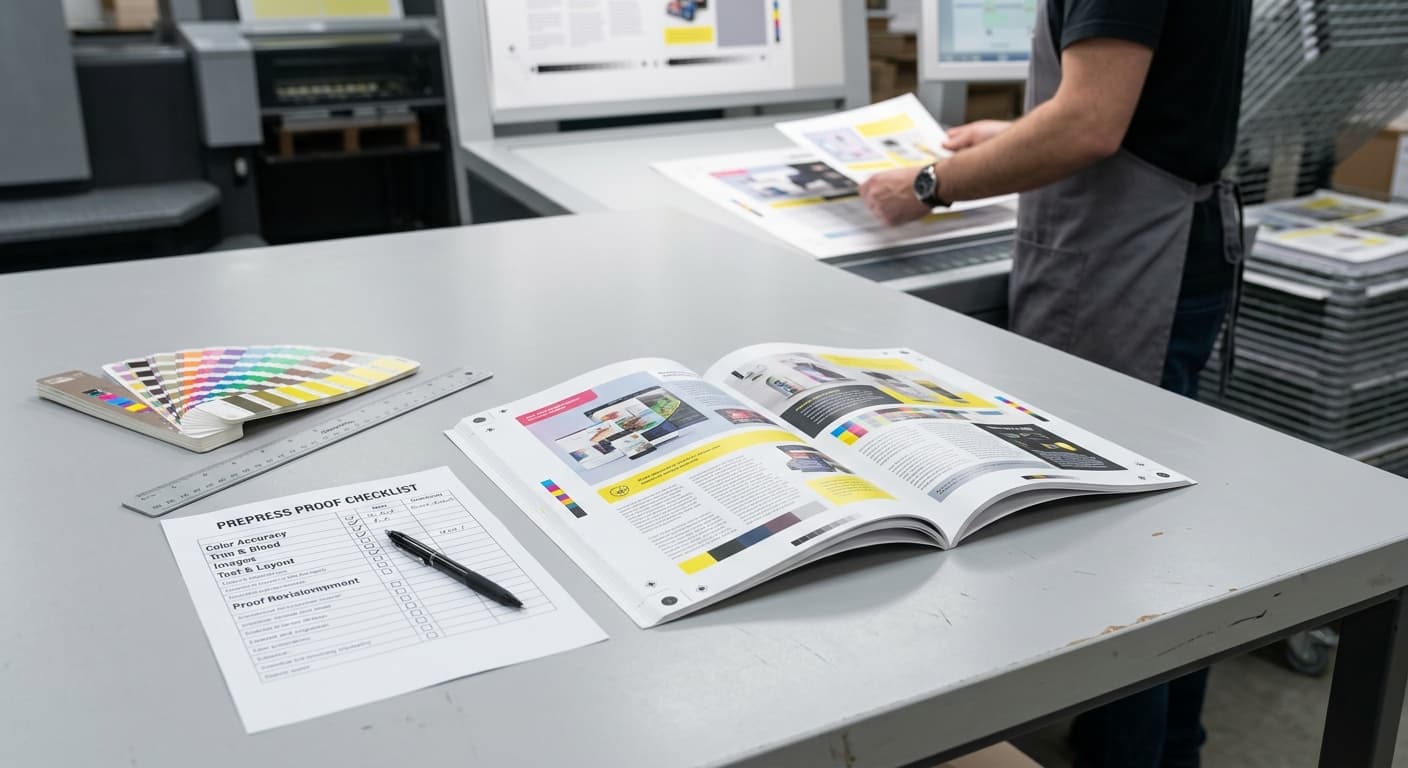
Checks text, image reproduction and artwork on the agreed proof medium. It may not reproduce final assembly or every finish.
Complete finished sample
Inspect the handle edge, alignment, finger clearance, reinforcement bond, base stability and print rub with the intended contents in place.
From brief to delivery
Specify your die-cut paper bag order
Define, sample and release your order
Define the packed product
Provide contents, packed dimensions, weight and quantities per bag size and artwork.
Agree the handle construction
Compare usable loading height, paper, rounded opening and reinforcement. Approve a filled sample and the matching artwork revision.
Confirm release and delivery
Record the selected specification, packing counts, labels, destination and required arrival date. Separate production time from transport time.
Bundle counts and moisture protection
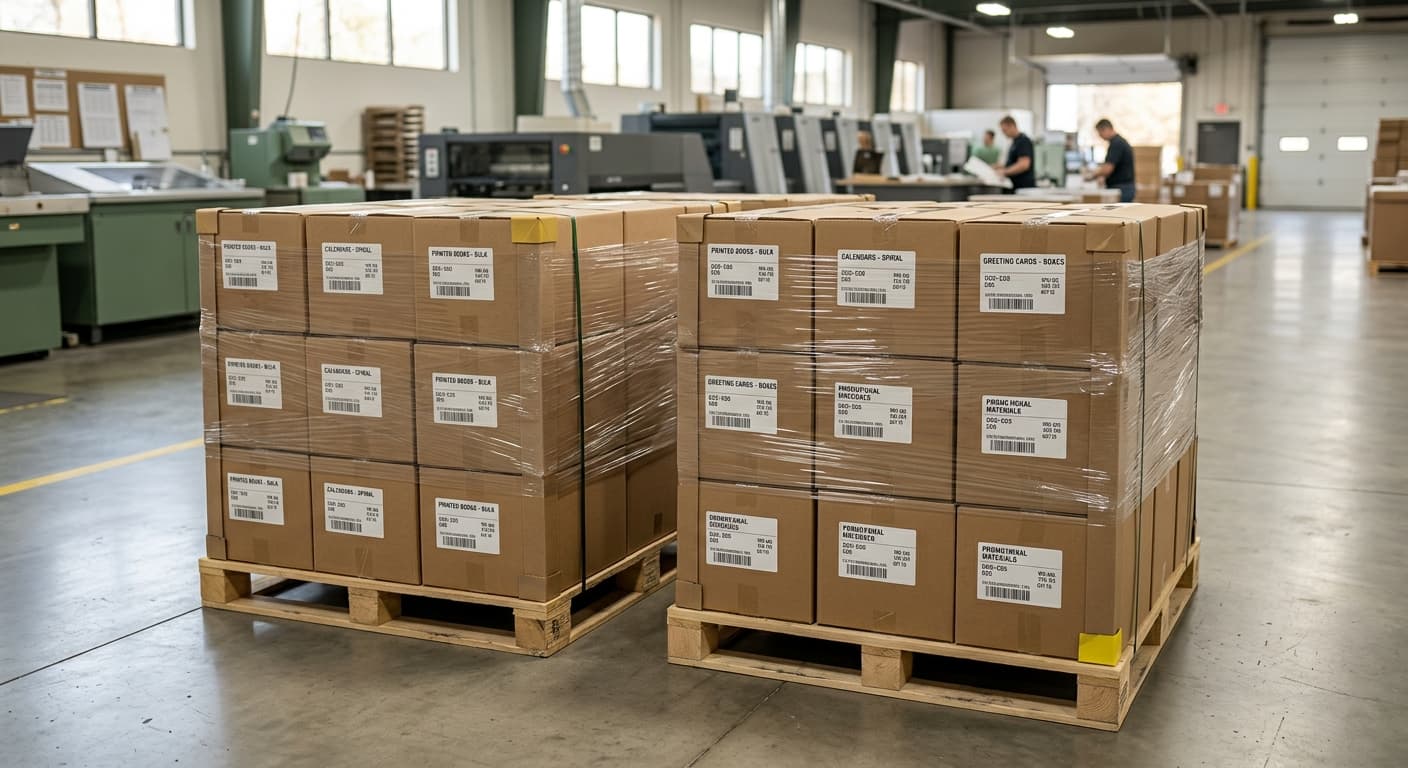
Agree flat-bag counts per bundle and carton. Label size and artwork versions, and protect the paper against moisture during storage and transit.
- Use the approved bag drawing with the handle opening, reinforcement area, top turn-in, gusset folds, bottom folds and glue zones shown on separate non-printing layers. Keep fonts embedded or outlined in the production PDF.
- Extend backgrounds to the agreed bleed boundary and retain vector logos. Keep essential type outside the cut and fold safety zones. Supply separate masks for any agreed finish rather than placing effects into the structural drawing.
Project questions
Planning Custom Die Cut Paper Bags
How is a die-cut handle different from a rope handle?
The carrying opening is cut into the bag panels rather than attached above them. This gives a compact profile, but it consumes upper-panel space and concentrates force around the cut. A rope or paper-loop handle changes both the grip position and how the load enters the bag.
Do all die-cut paper bags need reinforcement?
The required construction depends on the paper, handle shape, bag dimensions, contents and carrying conditions. Compare the proposed opening and reinforcement on a filled sample. An empty bag photograph cannot establish whether it is suitable for the load.
Does the quoted height include the handle area?
State whether the drawing gives total height or usable loading height. This page uses total height in width × gusset × height references. The product, wrapping and finger clearance must fit below the handle, so provide their dimensions separately.
Can I choose brown or white paper?
Both are useful design directions. Brown kraft gives an uncoated natural background that changes ink appearance; white paper provides a lighter base for color reproduction. Compare the printed sample, feel and carrying behavior before selecting a grade.
Specify the finished product.
Send quantity per size and artwork, width × gusset × height, packed contents and weight, paper preference, print colors and handle shape. Include usable loading height, reinforcement needs, destination and required arrival date.